This post may contain affiliate links. Please read our disclosure policy.
Cottage cheese popsicles are creamy, high-protein frozen treats made by blending cottage cheese with berries, freezing in molds, and dipping in a chocolate shell.
Most of what I make for my kids starts with the same question: can I get some protein into this without them noticing?
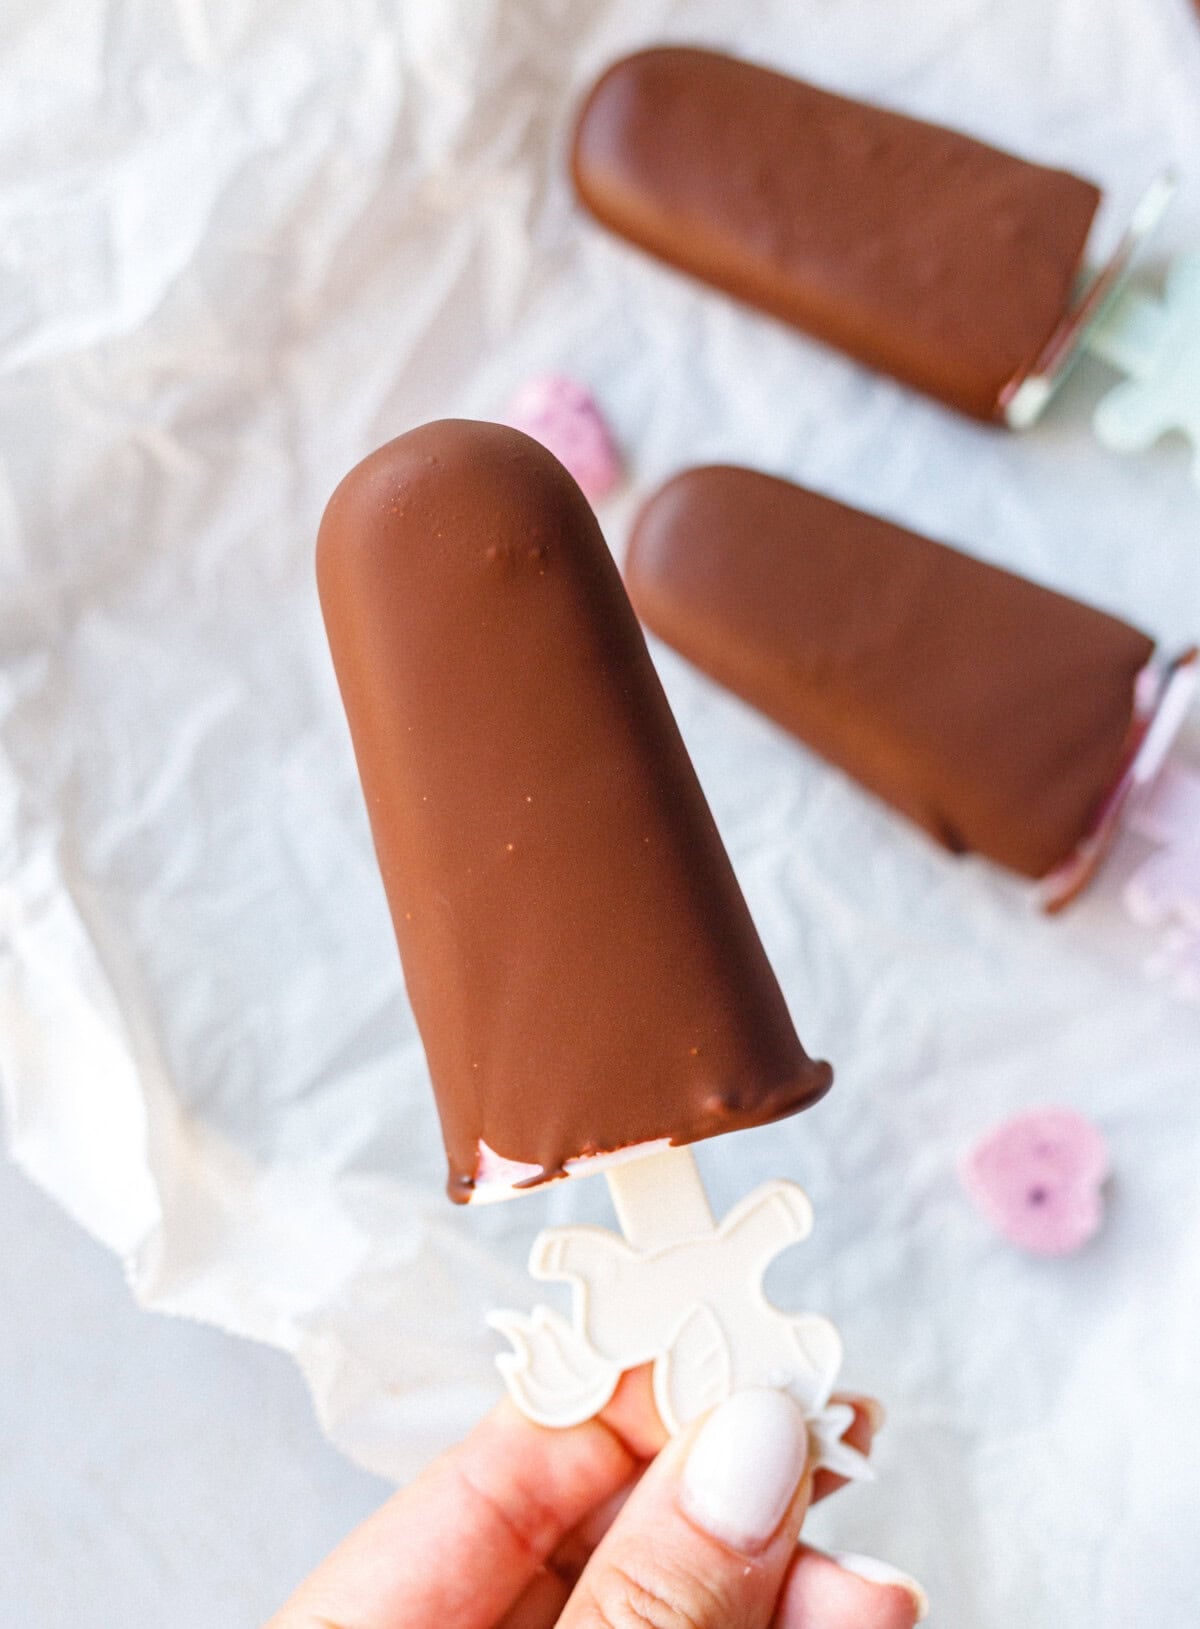
These popsicles are one of the ones that worked. Blended cottage cheese and berries, frozen in a mold, then dipped in chocolate so the shell cracks when you bite it — and nobody has ever asked me what’s in them.
The thing that surprised me was the lemon juice. I left it out of the first batch and the popsicles tasted flat, almost chalky — cottage cheese goes dull once it’s frozen.
One tablespoon of lemon juice fixed it completely.
It doesn’t make them taste lemony; it just wakes everything back up.
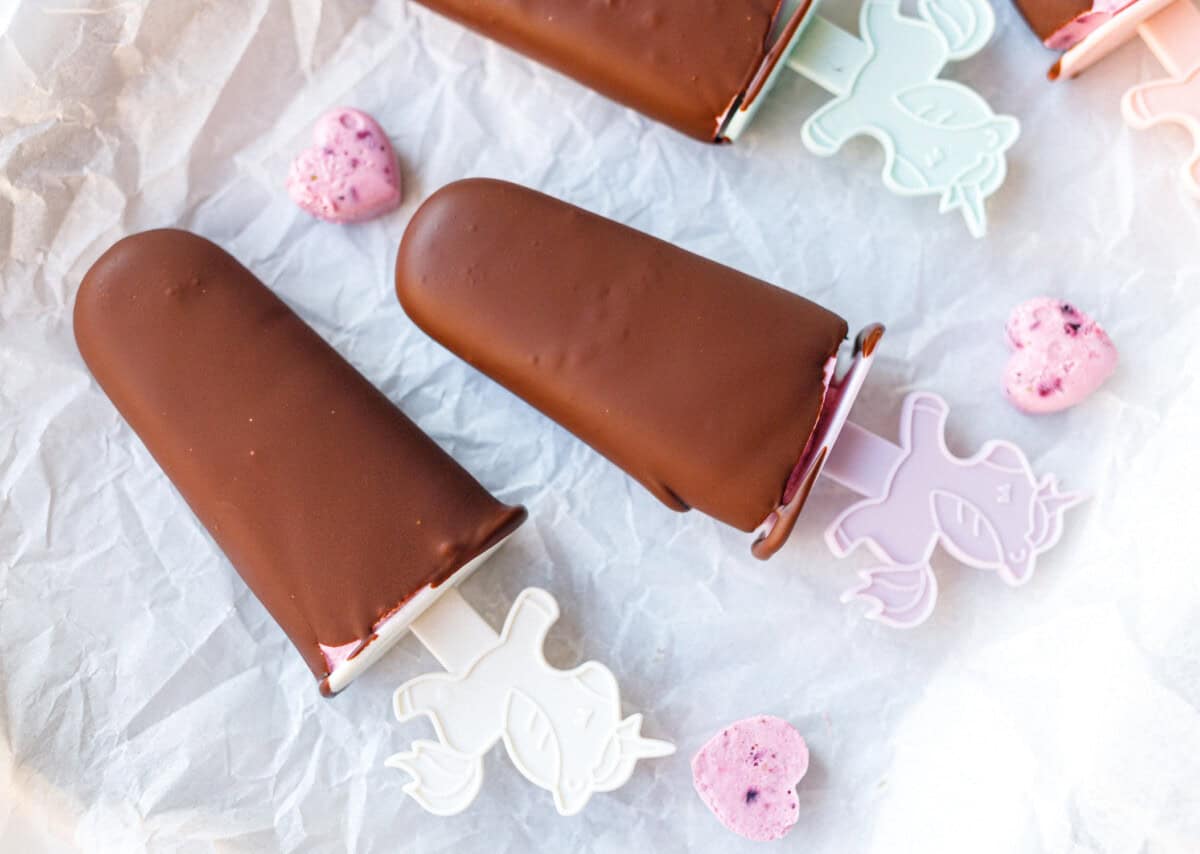
Why You’ll Love This Recipe
You get a frozen treat with real protein in it, sweetened however suits you, for a fraction of what the boxed ones cost.
The cottage cheese blends completely smooth, so the texture gives nothing away.
I make a batch on the weekend and they sit in the freezer for whenever someone needs a treat.
How to Make Cottage Cheese Popsicles
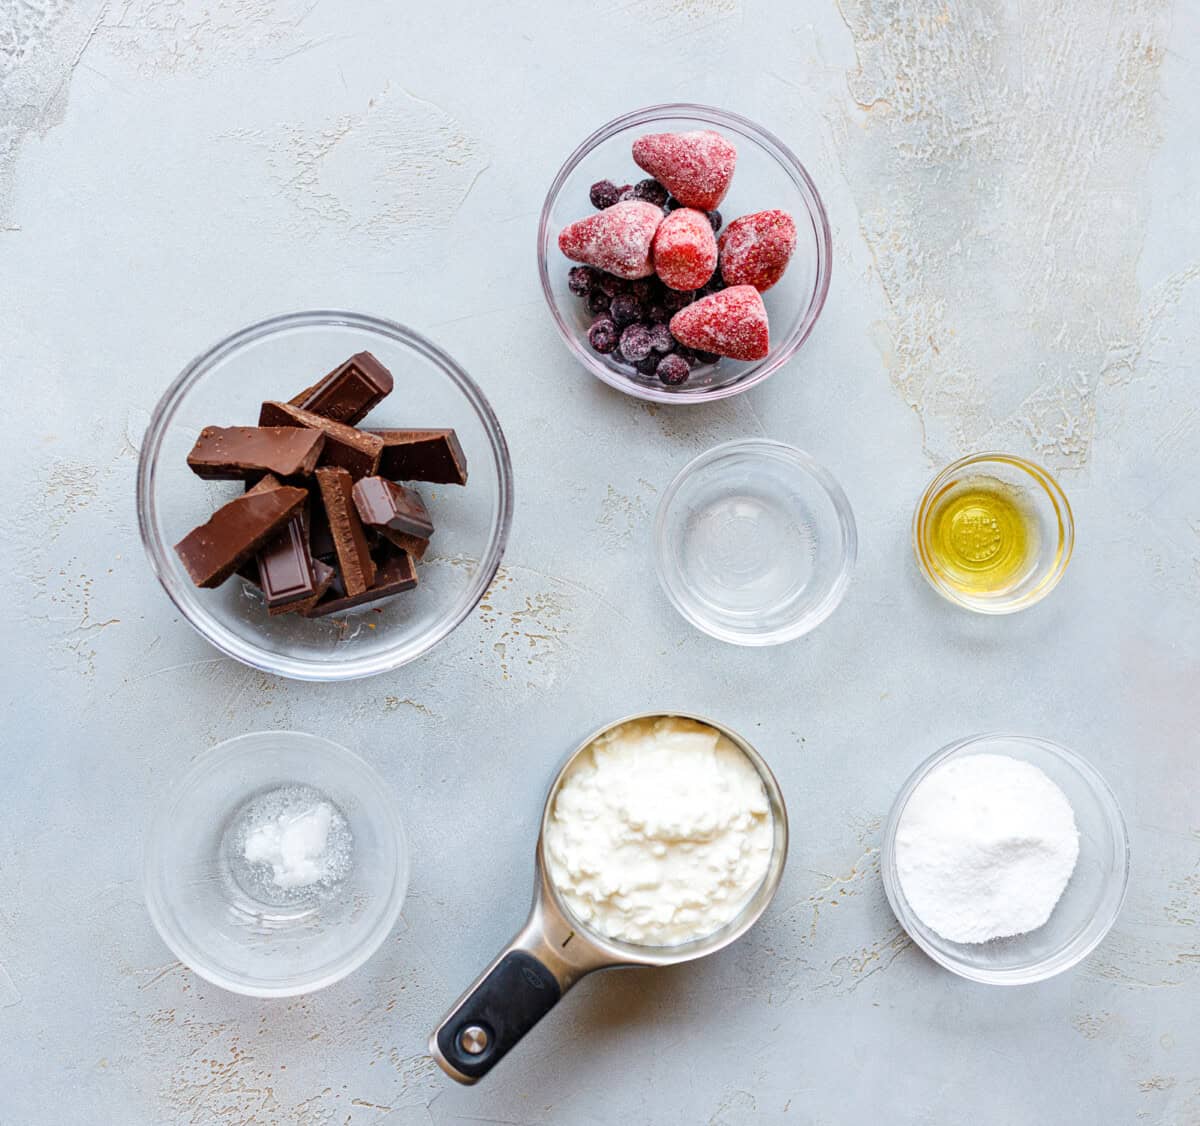
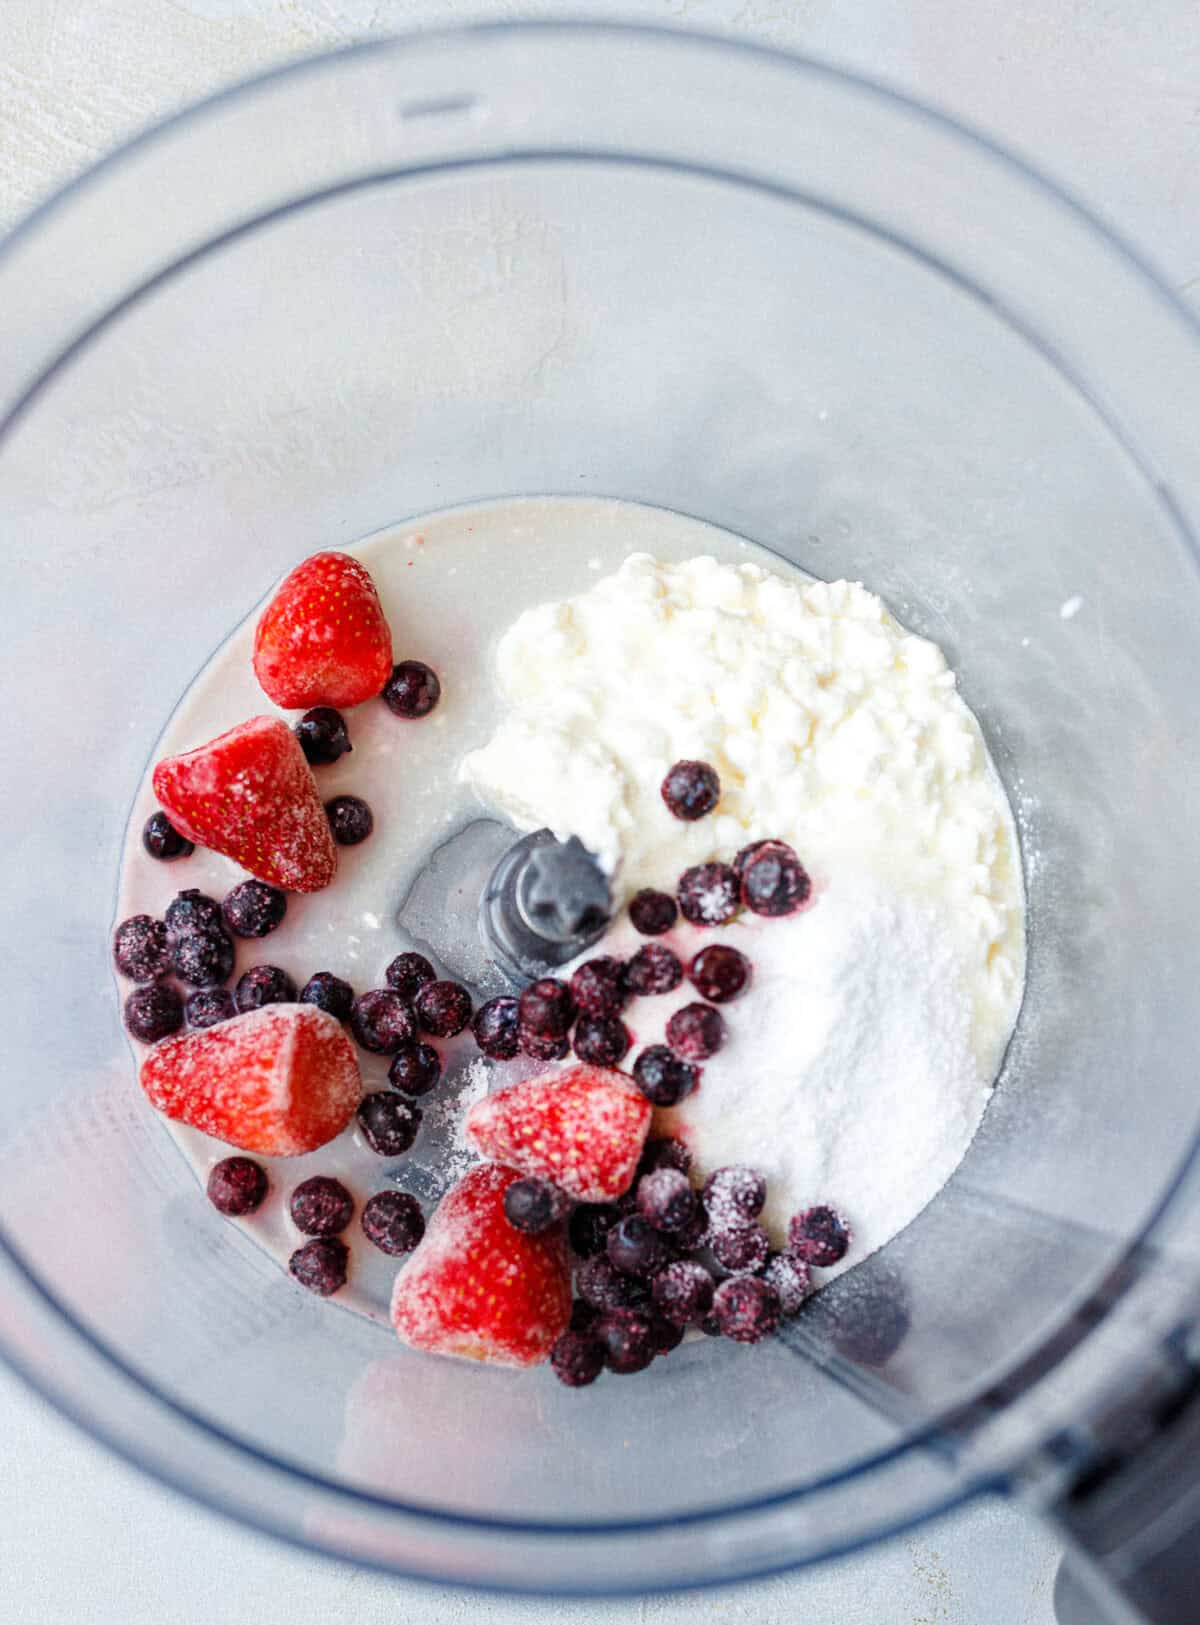
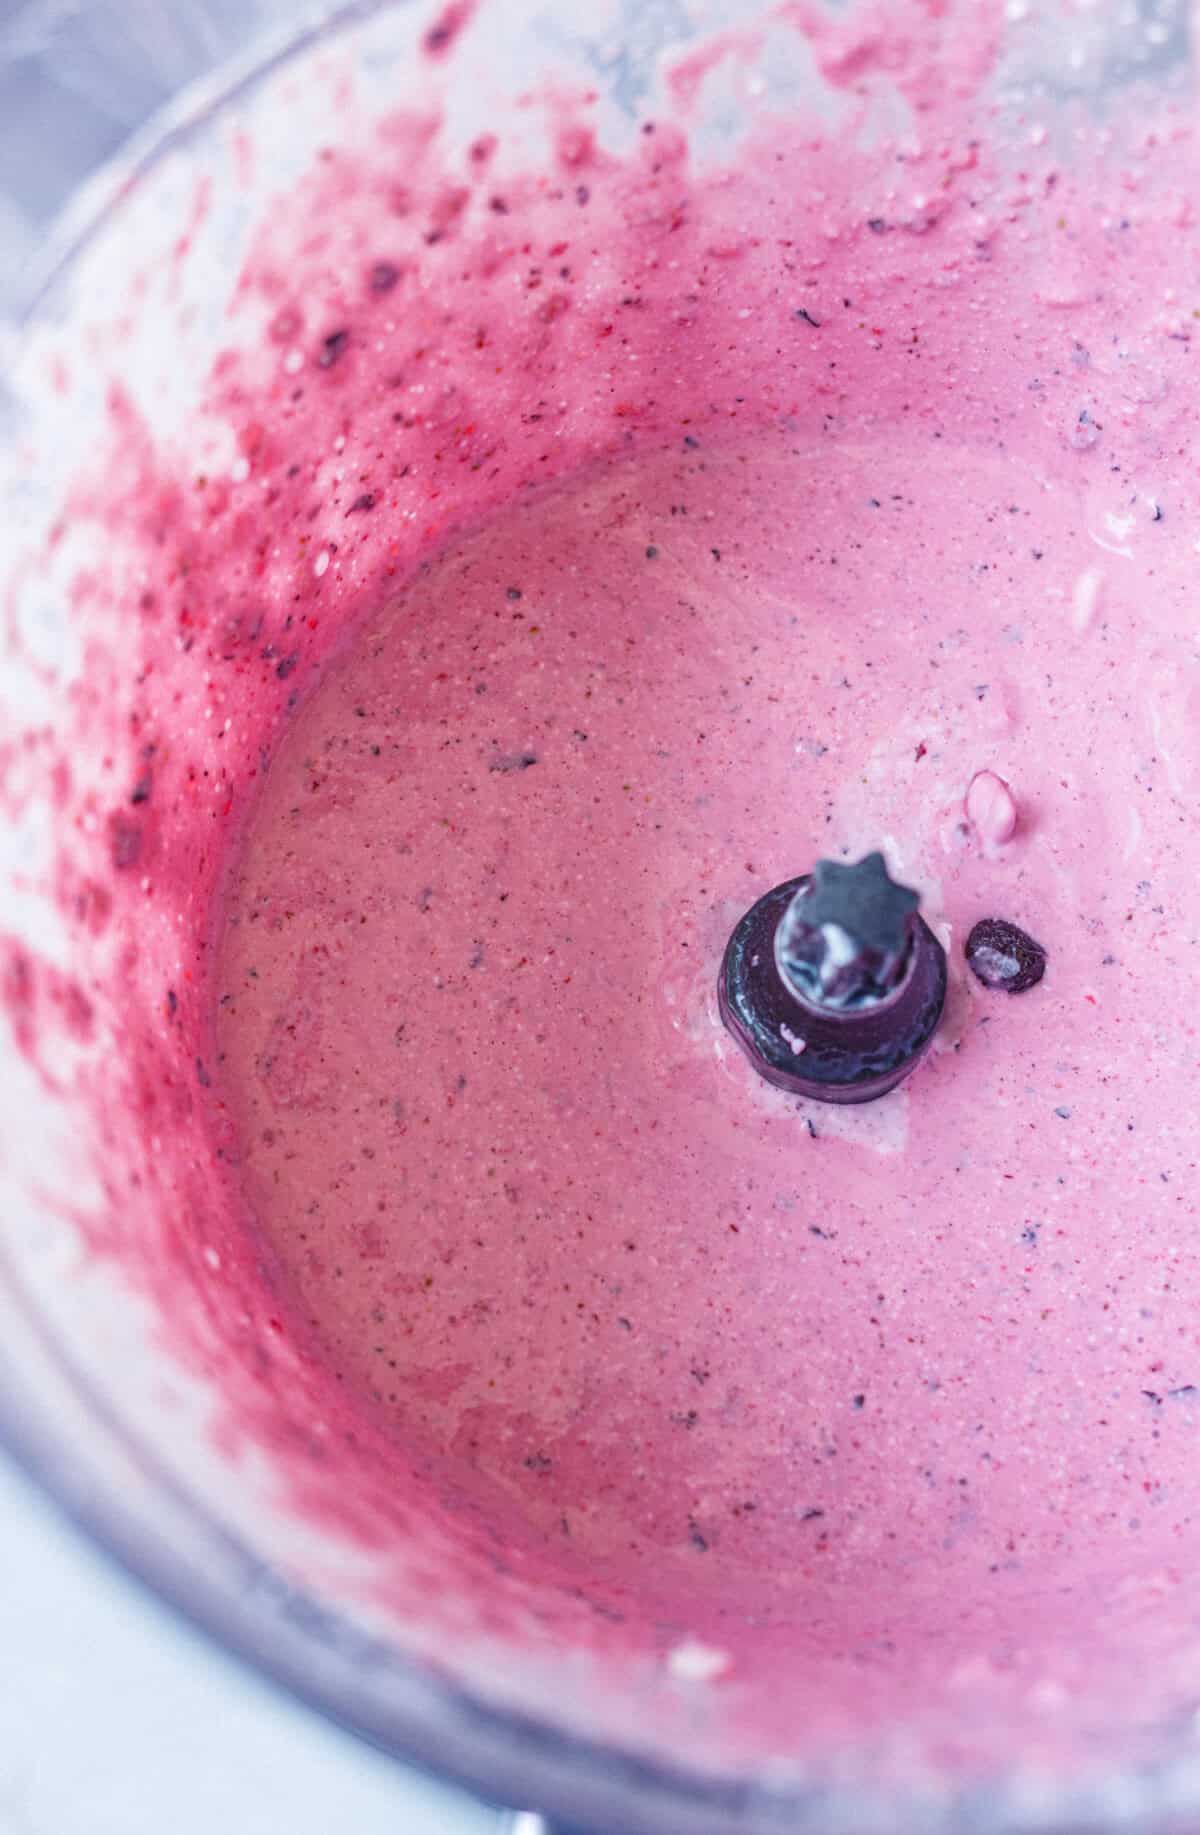
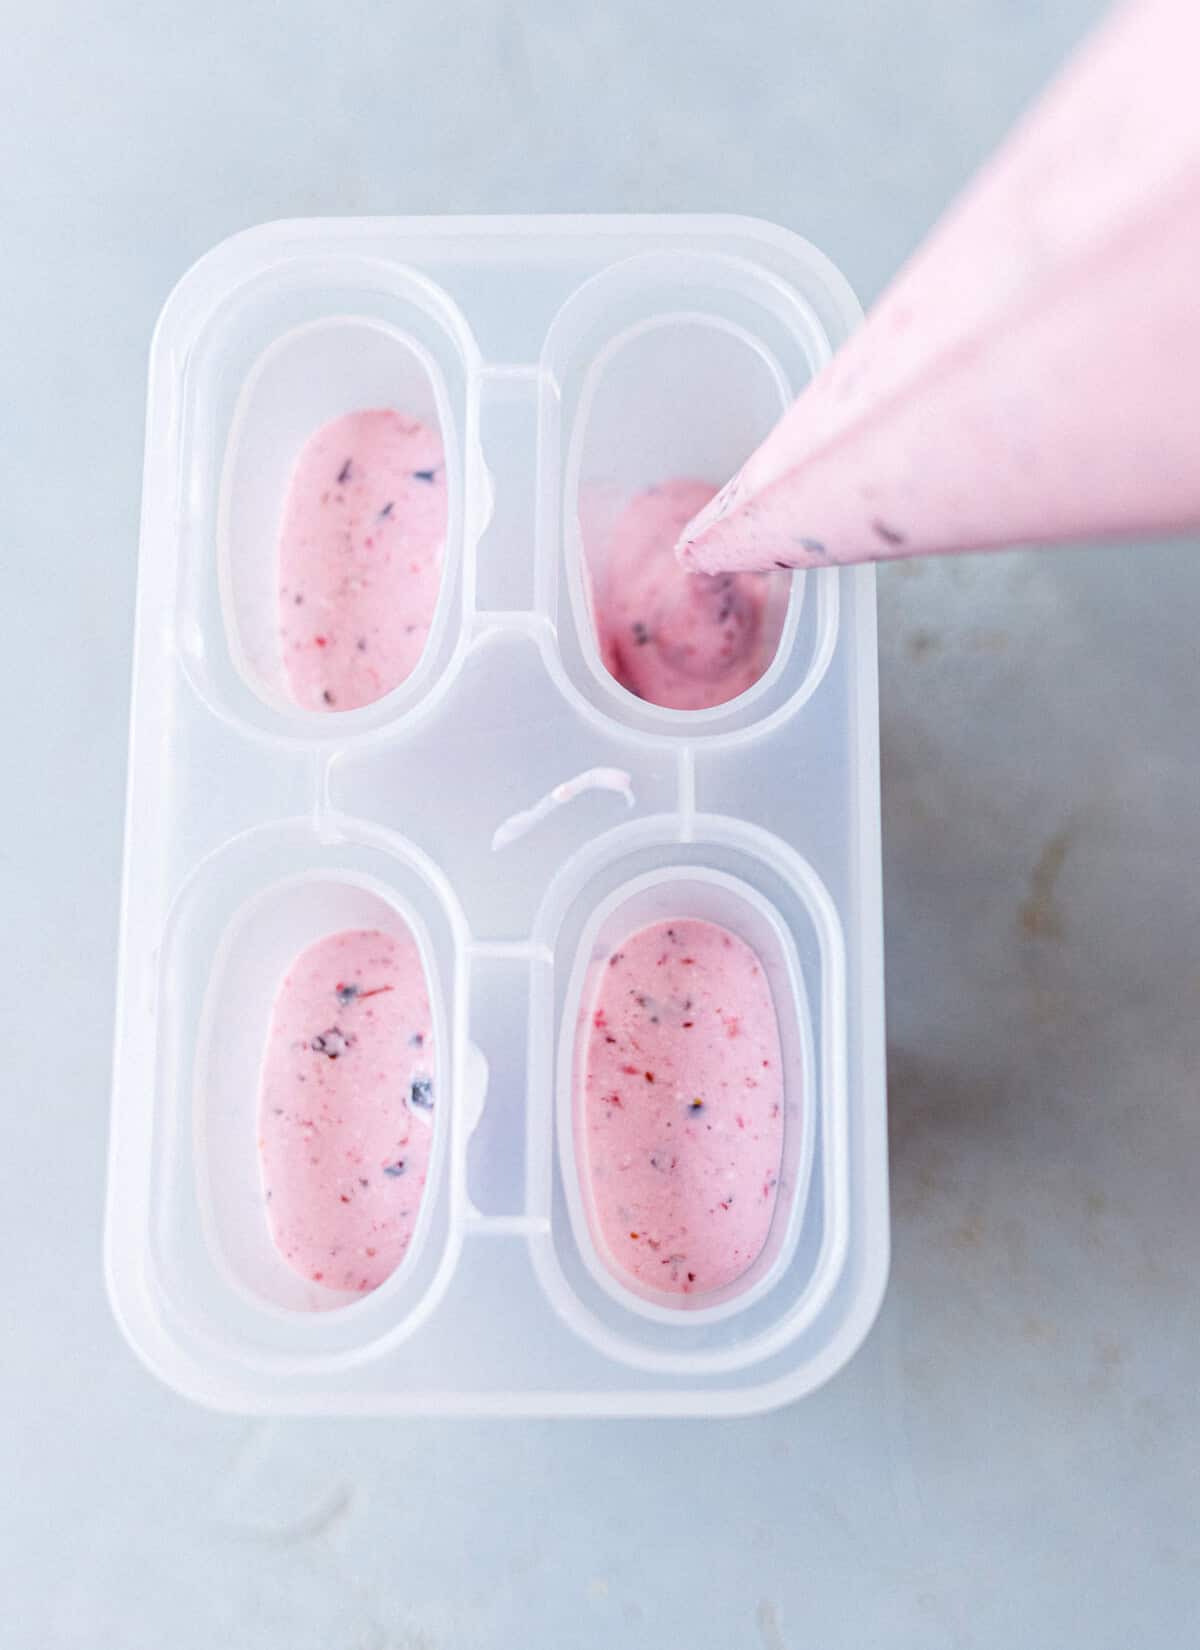
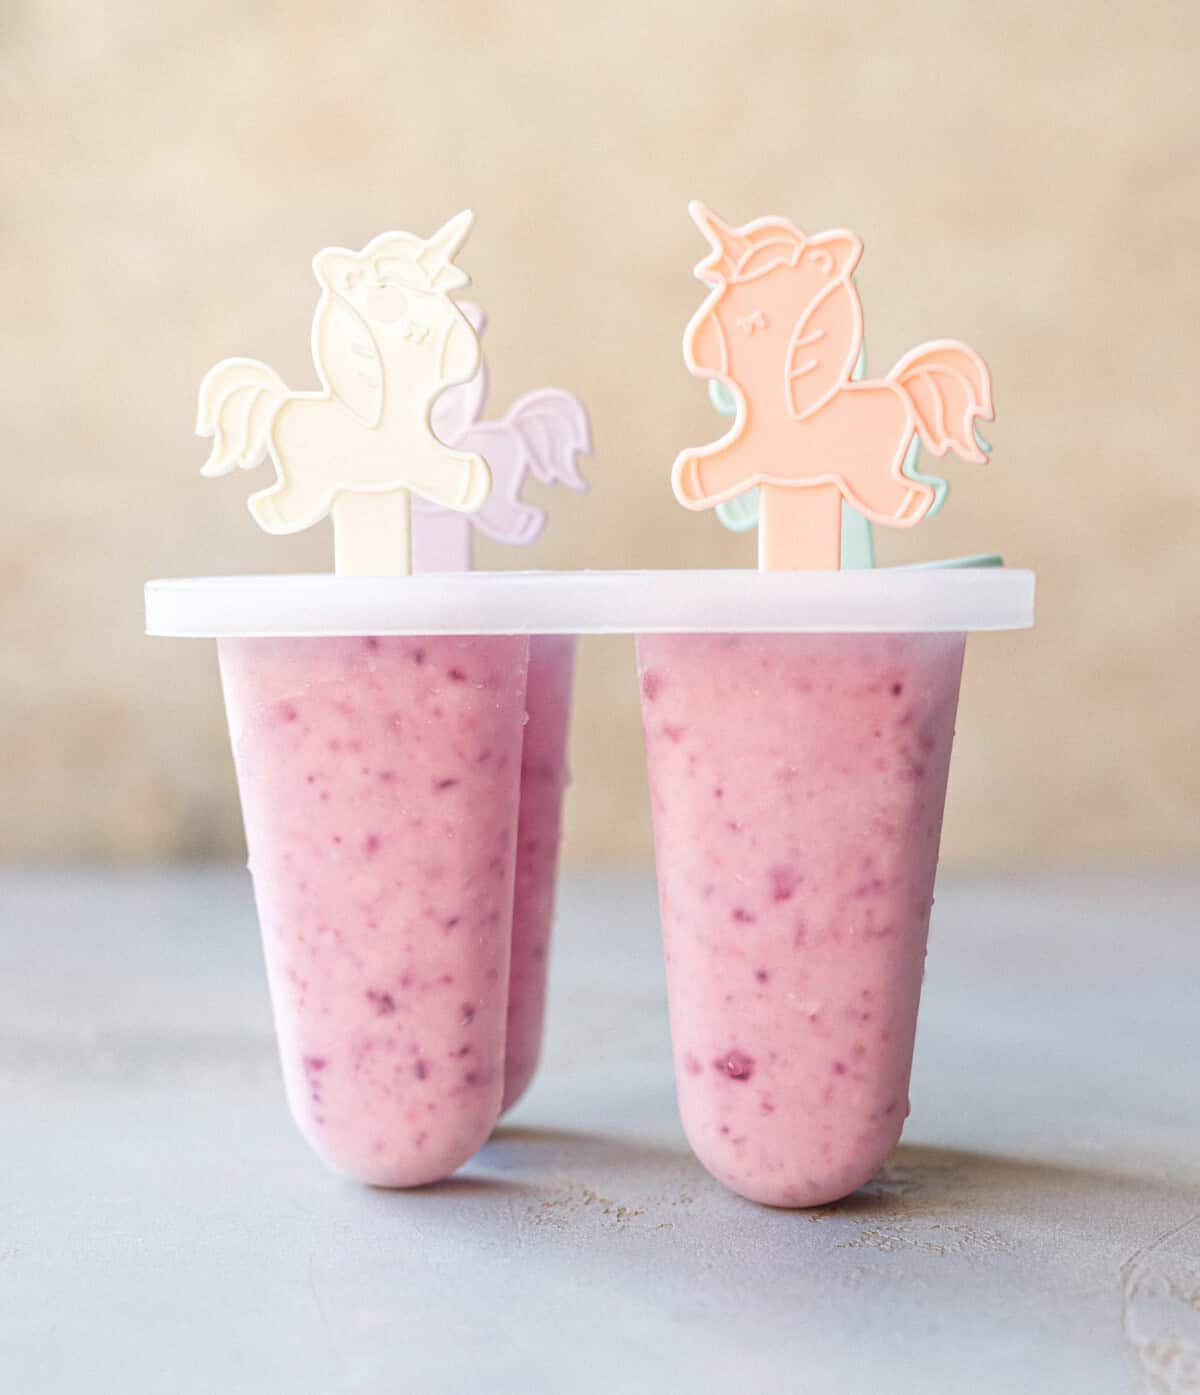
One blend, one freeze, one dip. The only part that takes patience is the freezing.
- Blend the cottage cheese, allulose, vanilla, and lemon juice in a food processor or blender until completely smooth, about 60 to 90 seconds. Stop and scrape the sides once — the curds hide at the bottom, and you want no texture left at all.
- Add the berries and pulse just 3 or 4 times, so they break up and streak through the base instead of turning the whole thing one flat color.
- Divide between 4 popsicle molds, tapping each one on the counter to settle the mixture and knock out air pockets.
- Insert the sticks and freeze at least 6 hours, or overnight for a clean release.
- Run warm water over the outside of the mold for 10 to 15 seconds, then pull the popsicles straight up and out. Lay them on a parchment-lined tray and put them back in the freezer for 10 minutes while you melt the chocolate.
- Melt the chocolate with the coconut oil, stirring until glossy and pourable.
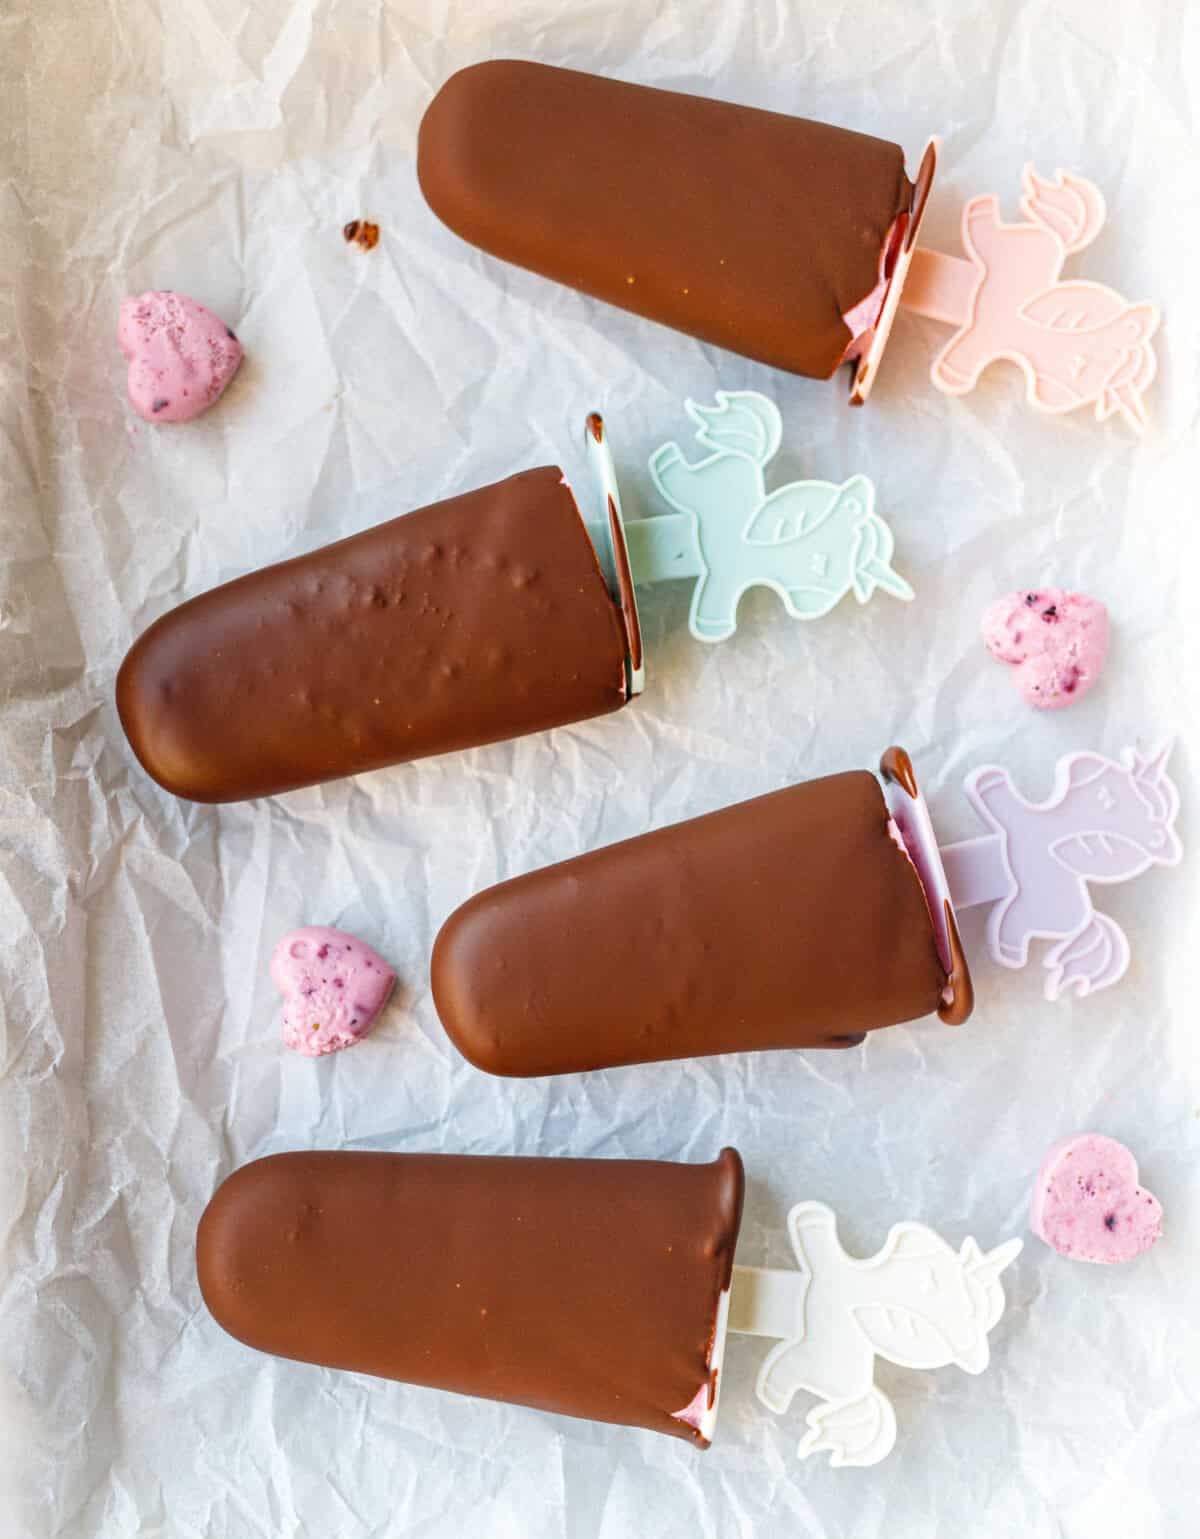
- Dip each frozen popsicle, let the excess drip off, and set it back on the parchment. The shell sets within seconds against the cold surface.
- Once the chocolate is firm, transfer them to a zip-top bag and return them to the freezer.
Tips
Use the full 4 ounces of chocolate. I tried to get away with less and dipping became a scraping exercise — you need enough depth in the bowl to submerge the popsicle in one motion, or the shell goes on patchy.
Blend longer than feels necessary. Sixty seconds sounds like a lot for cottage cheese, but anything less leaves a grainy finish you only notice once it’s frozen, when it’s too late to fix.
Don’t drain the cottage cheese. Some recipes have you strain it first — skip that here. The liquid is part of what keeps the base creamy instead of dense, and draining it makes the popsicles harder and more icy.
Full-fat cottage cheese makes a real difference. I tested this with low-fat and the popsicles came out noticeably icier. The fat is what keeps the texture creamy rather than crystalline.
The coconut oil is not optional in the shell. Straight melted chocolate cracks off in sheets. The coconut oil thins it just enough to coat in a layer that snaps cleanly when bitten.
Get them cold again before dipping. I skipped the 10-minute return to the freezer once, and the chocolate slid right off as it melted the surface underneath.
Warm water, not hot. Hot water melts a soft outer layer that refreezes cloudy. Ten seconds of warm water is enough to release them.
Serving Ideas + More Recipes
These are rich enough to finish a meal on their own, but a bowl of extra fresh berries alongside cuts through the chocolate nicely. On a hot afternoon I hand them out straight from the freezer with cold milk.
If you want another frozen treat built on the same protein idea, the Chocolate Almond Milk Cheesecake Ice Pops are creamier and heavier on the chocolate.
For something fruit-forward with no dairy at all, the Strawberry Chia Coconut Popsicles set with chia instead of blending smooth.
And if you’re keeping carbs low across the board, my Low-Carb Keto Popsicles are the simplest of the group.
When cottage cheese is what you have on hand and you don’t want to wait for a freezer, the Lemon Cottage Cheese Mousse uses the same blending trick.
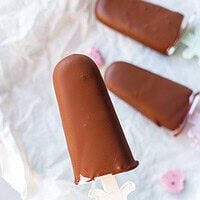
Cottage Cheese Popsicles
Ingredients
- 1 cup cottage cheese
- 2 tbsp allulose
- 1 tsp vanilla extract
- 1 tbsp lemon juice
- 1 cup mixed berries
- 4 oz dark chocolate, for dipping
- 1 tsp coconut oil
Video
Instructions
- Blend the cottage cheese, allulose, vanilla, and lemon juice until completely smooth, 60 to 90 seconds.
- Add the berries and pulse 3 to 4 times, until they streak through the mixture.
- Divide between 4 popsicle molds, tapping to remove air pockets. Insert sticks.
- Freeze at least 6 hours, or overnight.
- Run warm water over the mold for 10 to 15 seconds and pull the popsicles out. Return to the freezer for 10 minutes.
- Melt the chocolate with the coconut oil until smooth.
- Dip each popsicle, let the excess drip off, and set on parchment.
- Once the chocolate is firm, move them to a zip-top bag and freeze.
Notes
- Allulose keeps these low carb, but maple syrup, honey, or any granulated sweetener works — adjust to taste.
- Don’t drain the cottage cheese; the liquid keeps the texture creamy.
- Store in a zip-top bag in the freezer up to 1 month.
Nutrition
Nutrition information is automatically calculated, so should only be used as an approximation.
FAQ for Cottage Cheese Ice Pops
How long do cottage cheese ice pops need to freeze? Six hours minimum, though overnight releases much more cleanly.
I tried pulling a batch at four hours and the centers were still soft — two of them broke apart on the stick when I dipped them.
If you press the top and it gives at all, they need longer.
Why did my popsicles turn out grainy? Almost always underblending.
Cottage cheese curds need a full 60 to 90 seconds in a processor to disappear, and you can’t tell whether you’ve done enough until they’re frozen.
Rub a little of the blended base between your fingers before you pour — if you feel any grit, blend again.
Can I use a different sweetener than allulose? Yes. I use allulose because it keeps them low carb and doesn’t crystallize in the freezer the way some sweeteners do, but maple syrup, honey, or regular sugar all work.
Start with the same 2 tablespoons and taste the base before you pour — it should taste slightly sweeter than you want, because freezing dulls sweetness.
How do I store them once they’re dipped? Wait until the chocolate is completely firm, then move them into a zip-top bag and back into the freezer.
Left uncovered on a tray they pick up freezer smells within a day or two, and the shell dulls. In a sealed bag they keep about a month.