This post may contain affiliate links. Please read our disclosure policy.
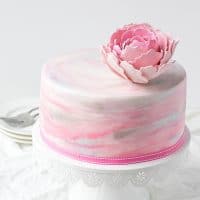
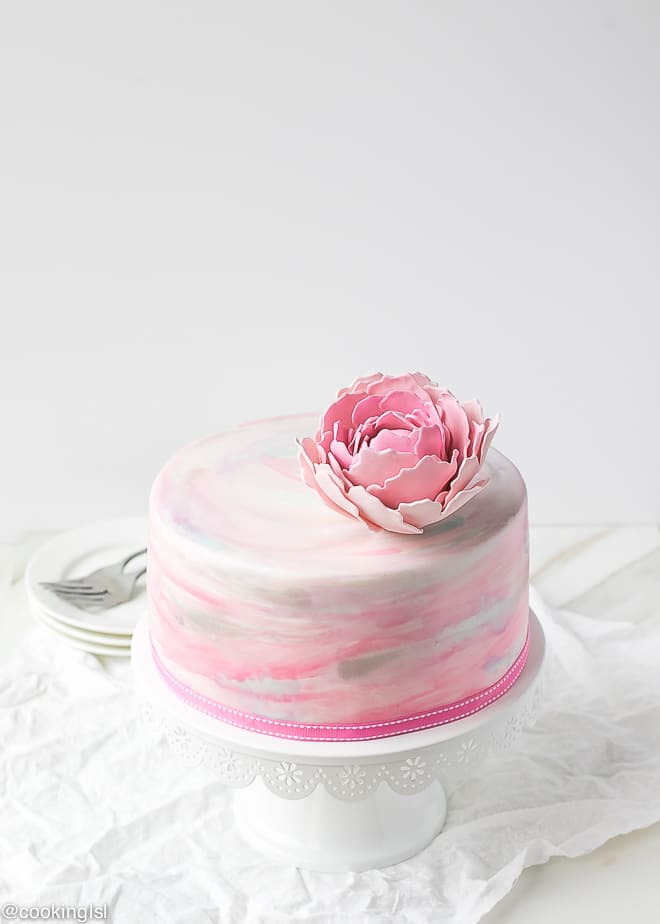
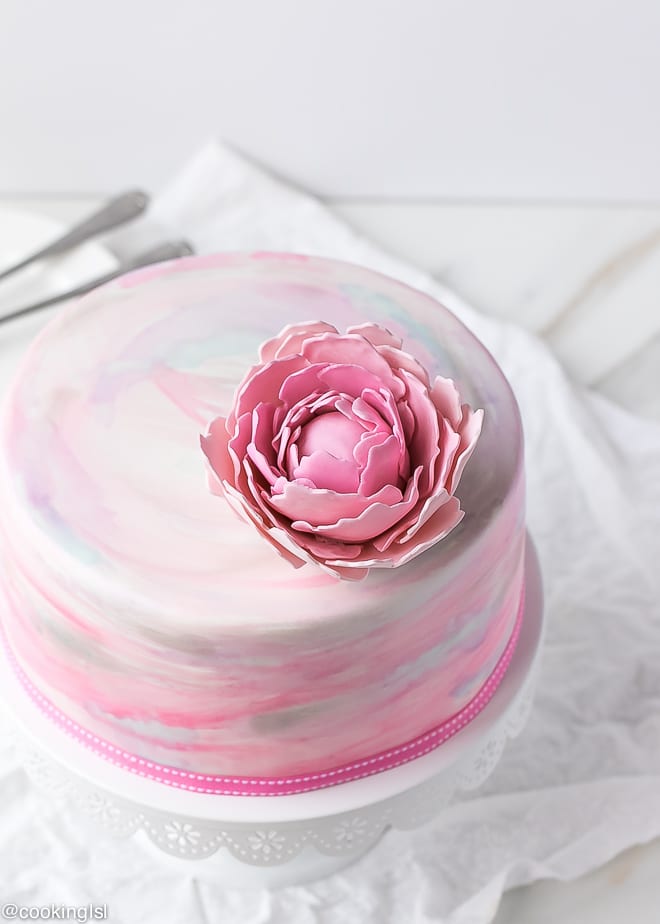
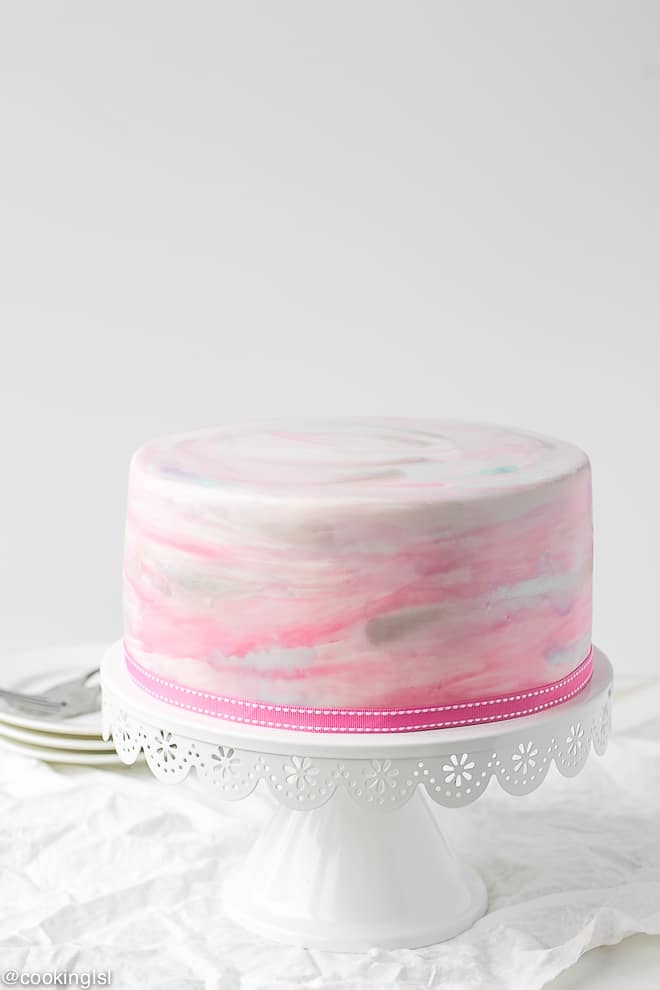
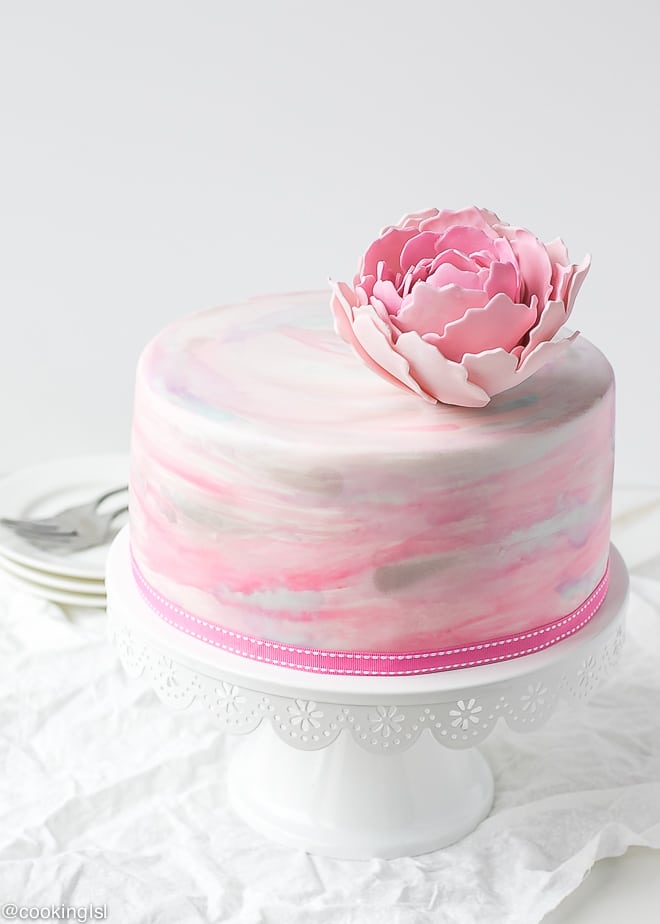
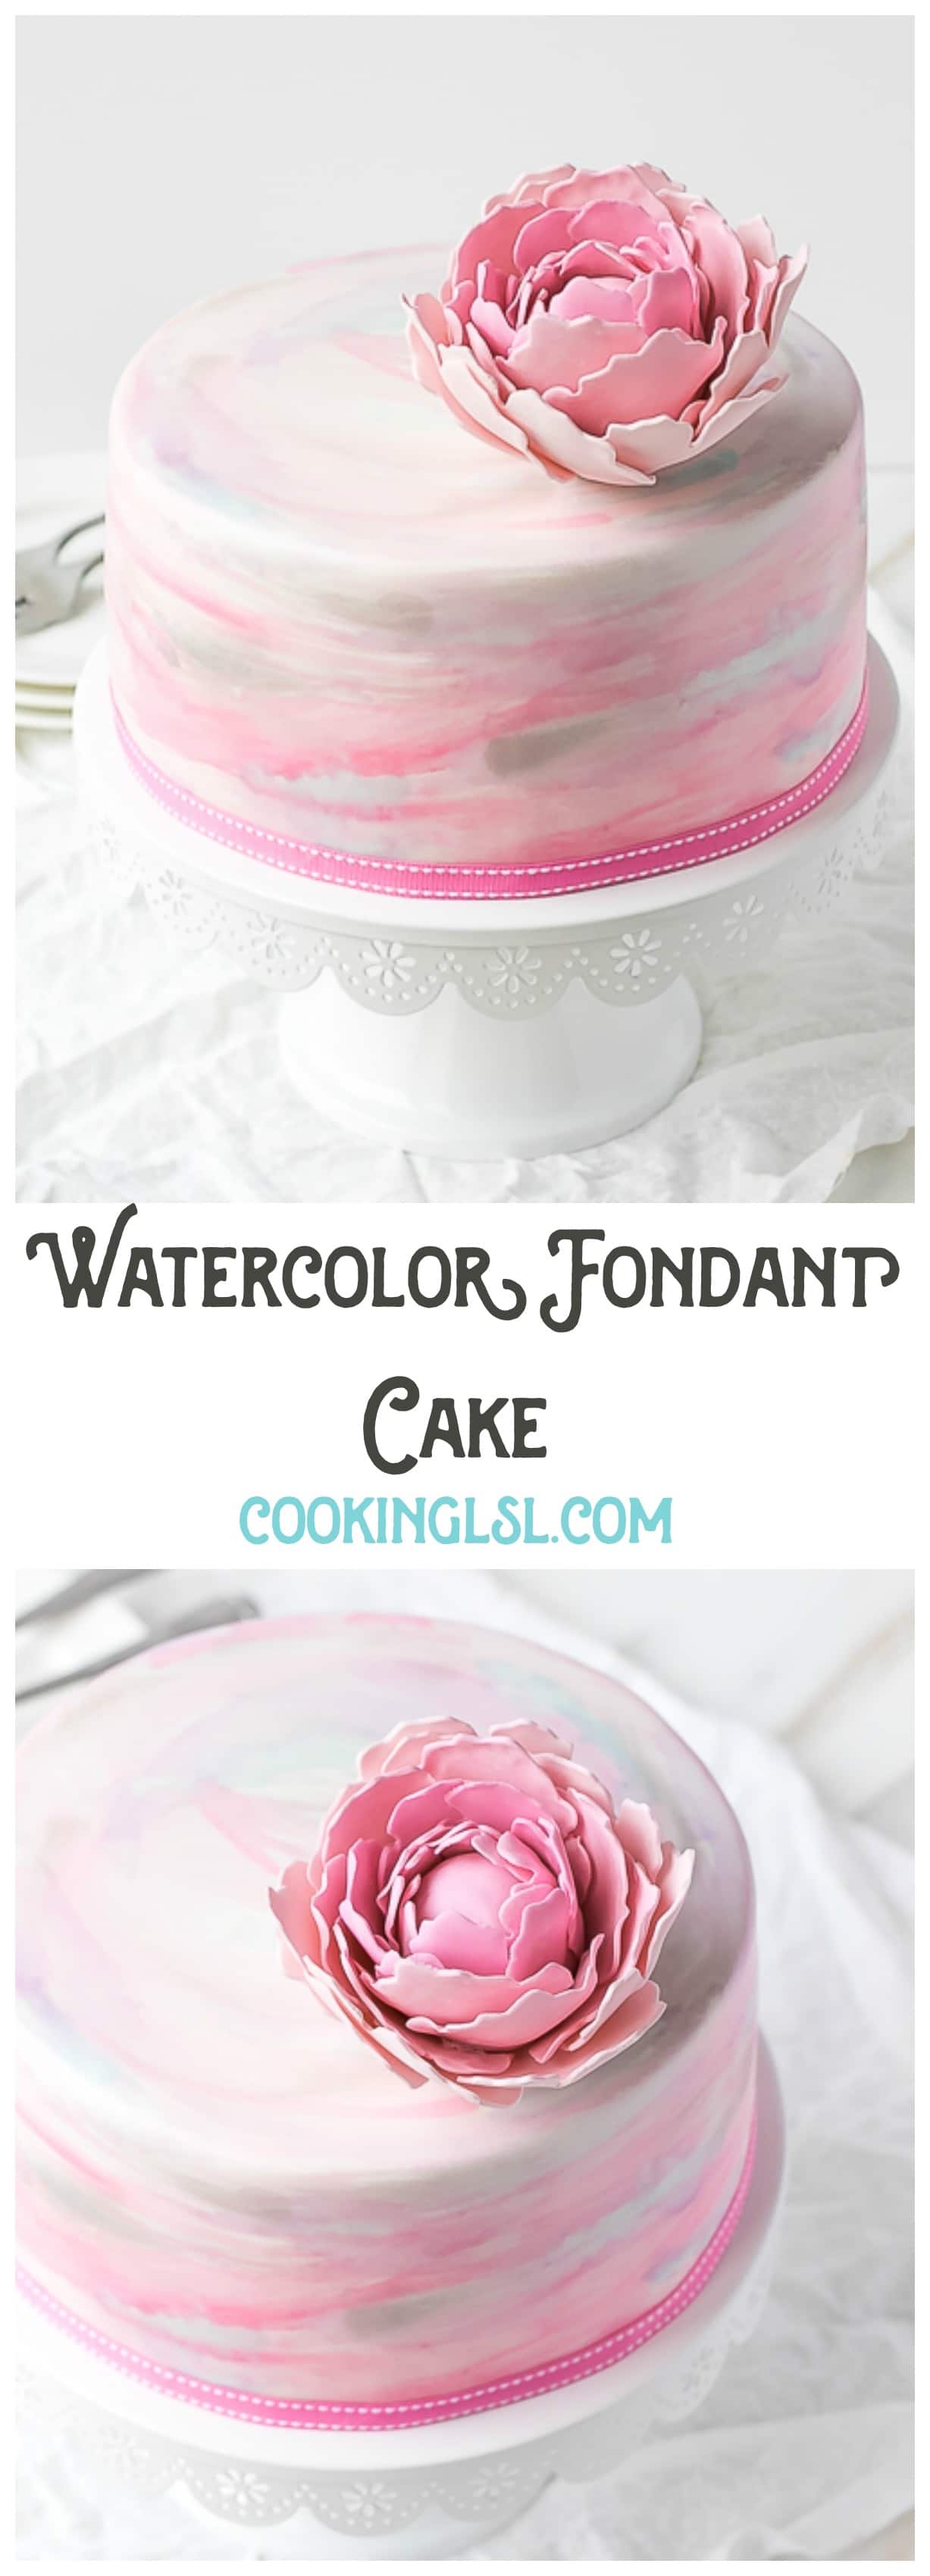
Watercolor Fondant Cake – my birthday cake this year. Layers of chocolate cake, brushed with raspberry syrup, homemade chocolate whipped cream and covered with hand painted “watercolor” fondant. I also added a gum paste peony (please excuse its look, I’m not experienced with fondant and gum paste, but I use them every once in a while).
Here it is, as promised – my birthday cake. In one of my favorite colors – pink, this cake turned out gorgeous!
I’ll keep things nice and short today!
No step by step photos, because I had no time to take them.
Every year around my birthday, I feel extremely tired.
I wonder how I even managed to make this. I could have done something more simple. I could have just ordered a cake.
The truth – crafts help me relieve stress. And I call fondant cakes “crafts”. Yo need the skill and passion to make them. I don’t really have the skill, but from time to time I like to spend time, watch youtube tutorials and create stuff like this. It happens probably once a year.
I’ve been into cakes lately. I like the trendy “naked” and “semi-naked” cakes. They don’t need to be perfect. But fondant ones do. You need sharp edges. (Mine here aren’t sharp, but are ok for someone, who makes a fondant cake 1-2 times a year.)
You also need good buttercream skills, to make the cake even and perfect. Mine are ok.
Since I’m no expert, I’ll share with you links for the tutorials that helped me create this cake.
I made the chocolate cake from scratch. Baked the batter in two 8-inch cake pans, then cut each one in half lengthwise (I like cakes with thin layers).
Brushed the layers with raspberry preserves mixed with water. Filled the cake with chocolate whipped cream (very easy to make).
Covered the cake with buttercream (one crumb coat, then let it set and added a thicker layer and tried to even out any bumps and make the edges sharp). Let it harden.
I use homemade buttercream made with butter only (no shortening). Use the one that works best for you.
This Watercolor Fondant Cake is of course, covered with white fondant. Painted it using this tutorial on YouTube. The colors I used are gel colors: Wilton Pink, Wilton Violet and Americano Color Turquoise (you can use other brands, I get my Americano Color on Amazon or at Hobby Lobby, Wilton could be found in a lot more stores). I also brushed on some Luster Dust (silver) with a dry brush. Let it dry.
This Watercolor Fondant Cake is with a pink gum paste peony (not perfect), which I made in advance. I made it using this tutorial from a fellow blogger and successful YouTuber – Ashley Marie Cakes. All of her tutorials are amazing!
Hope you like it and have a great weekend!
WATERCOLOR FONDANT CAKE
Ingredients
FOR THE CHOCOLATE CAKE:
- 2 cups all-purpose flour
- 1 tsp baking soda
- 1 tsp baking powder
- 1/2 tsp salt
- 3/4 cup unsweetened cocoa powder, (not dutch processed)
- 3 large eggs at room temperature
- 1 3/4 cups +2 tbsp sugar
- 2 tsp vanilla extract
- 1 1/2 cups low fat milk, (warmed to 80 F)
- 3/4 cup vegetable oil
- cooking spray
- two 8-inch round cake pans
FOR THE RASPBERRY SYRUP:
- 3 tbsp raspberry preserves
- 3 tbsp warm water
FOR THE CHOCOLATE WHIPPED CREAM:
- 2 cups heavy whipping cream
- 1/2 cup powdered sugar
- 1/3 cup unsweetened cocoa powder
- 1 tsp vanilla extract
FOR THE BUTTERCREAM:
- 2 sticks, (one cup/250 grams) softened butter
- 1 pound (450 grams/ 1/2 bag) confectioners sugar
- 1/2 tsp vanilla extract
- 2 tbsp heavy cream or milk
OTHER:
- cake turnable, (optional)
- 24 oz white fondant in white
- brushes
- luster dust in silver
- Wilton pink gel color
- Wilton violet gel color
- Ameri Color Turquoise gel color
- Gum Paste Peony
Instructions
FOR THE CHOCOLATE CAKE:
- Preheat oven to 350 F (175 C). Spray two 8-inch round cake pans with cooking spray. Line bottoms with parchment paper. Spray over the paper. Set aside.
- In a bowl, sift together flour, salt, baking soda, baking powder and cocoa powder, set aside.
- In the bowl of a stand mixer, beat together eggs and sugar for 3-4 minutes on medium-high speed. Add vanilla and beat to combine.
- Add oil and beat to incorporate.
- Add flour/cocoa mixture and beat to combine. Add milk slowly, and beat to incorporate on low speed.
- Divide between two pans. Bake for 35-40 minutes, until toothpick inserted comes out clean. Let cakes cool inside the pans for 10 minutes, then transfer to a wire rack to cool completely.
- Trim off the domes of the cakes. Using a serrated knife, carefully cut each cake into two lengthwise.
FOR THE RASPBERRY SYRUP:
- In a small bowl combine raspberry preserves and water. Whisk to incorporate.
FOR THE CHOCOLATE WHIPPED CREAM:
- In the bowl of a stand mixer with the whisk attachment, beat together heavy cream, powdered sugar, cocoa powder and vanilla extract. Beat for 2-3 minutes or more if needed, until stiff peaks form.
- Refrigerate until ready to use.
FOR THE BUTTERCREAM:
- In the bowl of a stand mixer, beat butter for 1 minute. Scrape the sides and the bowl.
- Slowly add 1/2 of the powdered sugar. Beat to incorporate. Scrape down the sides and bottom of the bowl.
- Add the remaining sugar and beat to combine. Make sure there are no limbs of butter.
- Add vanilla extract and 1 tbsp heavy cream. Beat to combine. Add more cream, to reach the desired consistency.
TO ASSEMBLE:
- Place one layer of cake on an 8-inch cake circle over a turnable. Brush with raspberry syrup. Add chocolate whipped cream, staying away from the edges of the cake with about 1/3 inch.
- Repeat with the next 2 cake layers. Add the fourth layer. Press to put it in place.
- Cover cake with a thin layer of buttercream. Refrigerate for 30 minutes.
- Cover cake with a thicker layer of buttercream, trying to make the edges sharp and making it even and smooth. Refrigerate for another 30 minutes.
- Cover cake with white fondant.
- Paint using this tutorial. Let the cake fry for 45 minutes , then dry brush with silver luster dust. Colors and dust I used are listed in the ingredients.
- Let the cake dry for 1 hour. Add a peony for decoration. Enjoy!
Nutrition
Nutrition information is automatically calculated, so should only be used as an approximation.
More Cakes You May Like
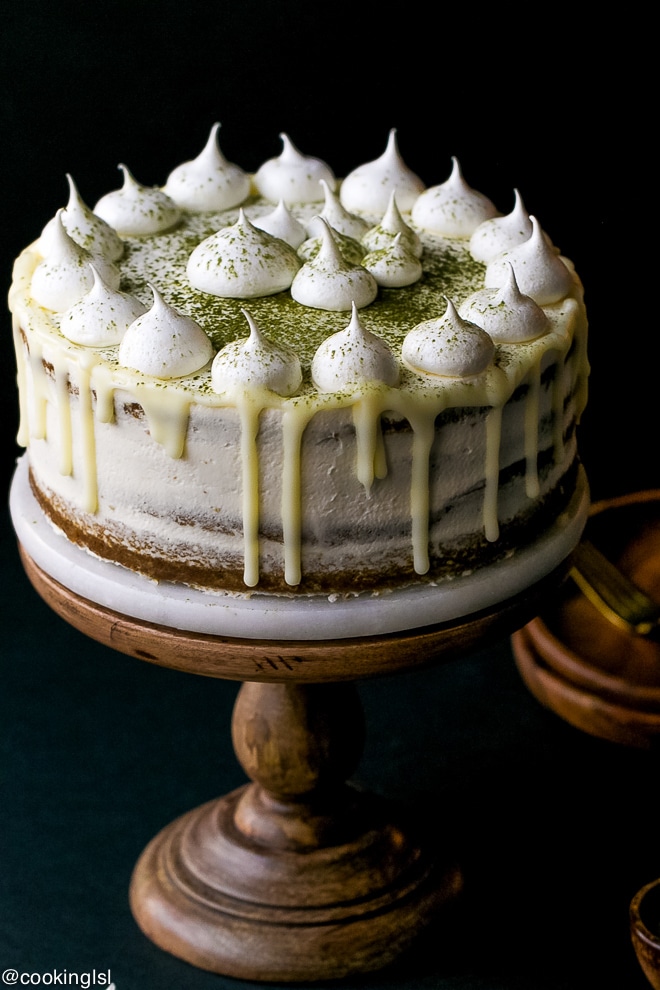
Matcha Layer Cake With White Chocolate Ganache Drip
No Eggs, No Milk, No Butter Chocolate Layer Cake Recipe
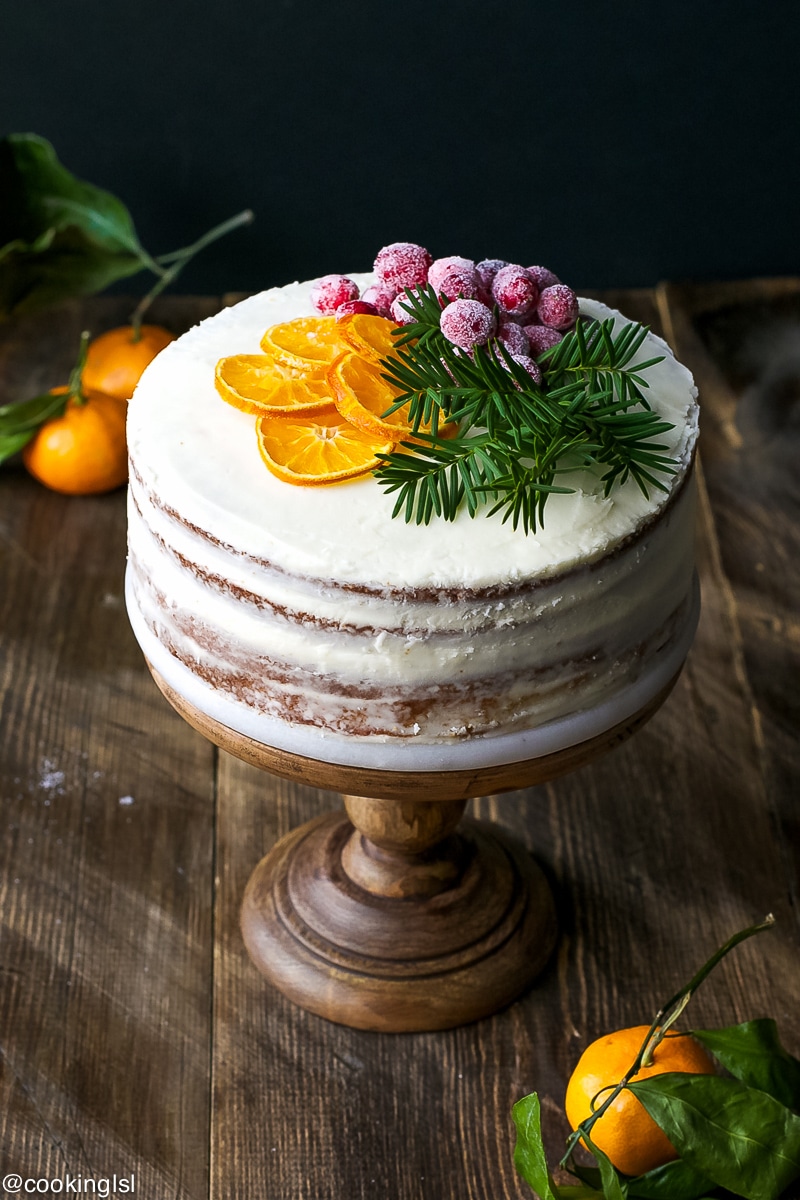
Tangerine Layer Cake With Tangerine Curd And Cream Cheese Icing
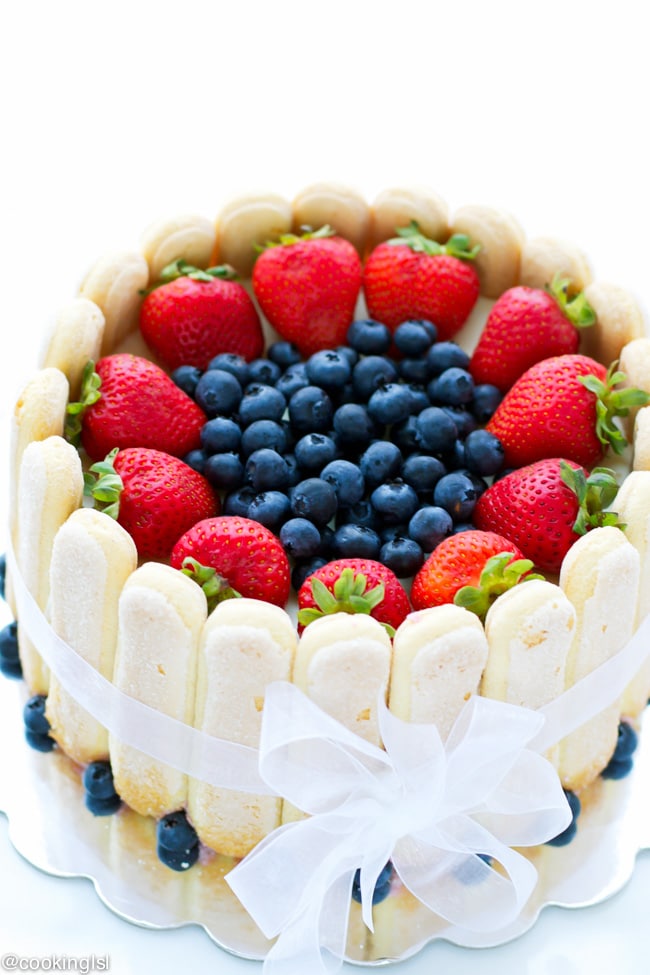
Strawberry And White Chocolate Charlotte Cake
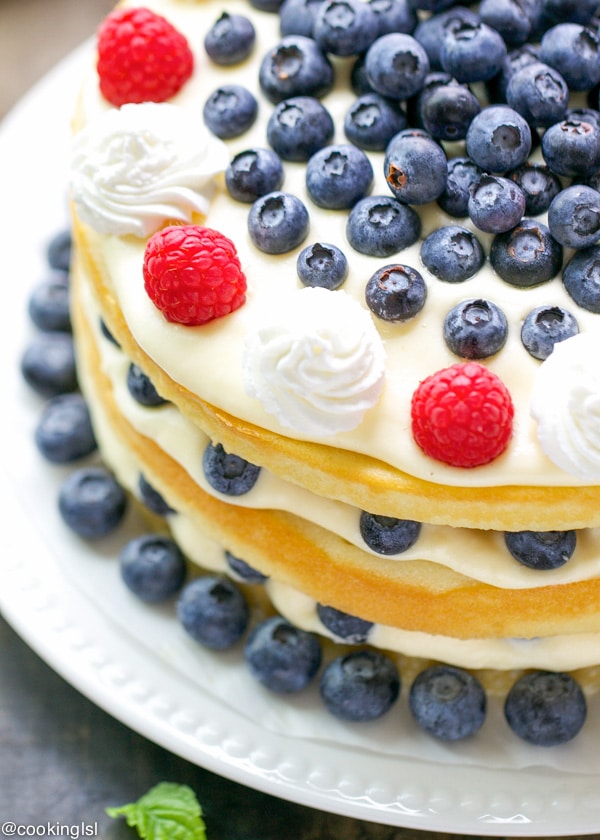
Blueberries And Bavarian Cream Cake

BEAUTIFUL AND DELICIOUS!
I made this base cake for my sister’s baby shower (using different fondant and cream recipe) and it was a hit! The cake wasn’t cut at the baby shower, but later at home and once everyone knew how delicious it was it didn’t last long.
Hi Yuliya, thank you so much! I’m glad you liked it! This reminds me I have to make this cake again! It is so good!
This is the ultimate Mira… I am in love with this recipe. I will try this recipe as soon as possible. Thanks, much Mira. Regards