This post may contain affiliate links. Please read our disclosure policy.
This is the coffee ice cream I make when I want something that actually tastes like coffee — not a vague, sweetened flavor, but real espresso, slightly bitter, deeply rich, the kind that keeps you going back for one more scoop.
I make it in my KitchenAid with the frozen bowl attachment, and it comes together faster than most people expect.
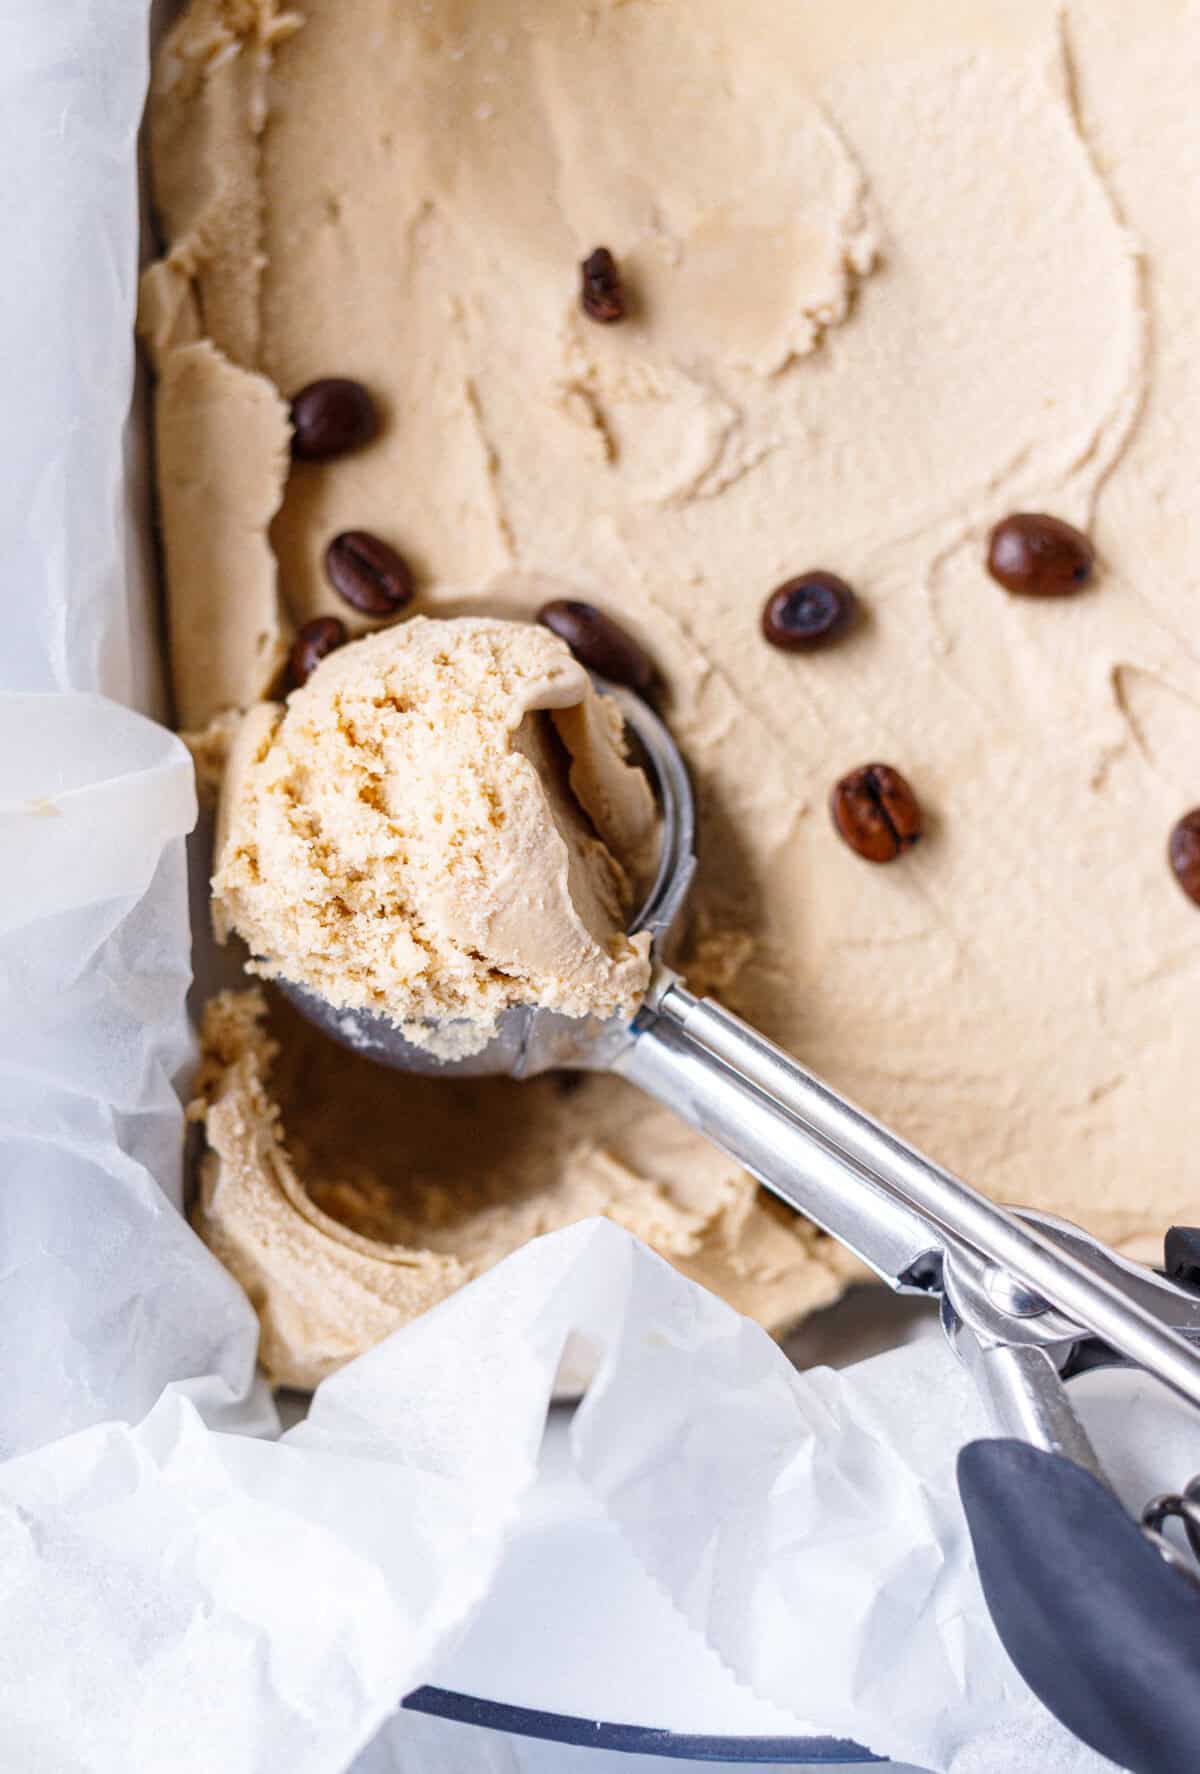
The thing I learned after making this a few times: the custard base needs to be completely cold before it goes into the bowl — not just cool, fully cold, straight from the fridge overnight.
That’s what gives you a dense, scoopable texture instead of icy crystals.
The ice cream is rich and egg-based, which means it churns into something genuinely creamy — not the grainy, icier result you get from no-churn versions.
The flavor comes from instant espresso powder, which dissolves cleanly into the hot milk and doesn’t leave any grit.
I use 3 tablespoons, which gives a strong coffee flavor without crossing into bitter.
This is a good make-ahead dessert — it keeps well in the freezer for up to two weeks.

How to Make Coffee Ice Cream

The method is a classic custard: cook the egg yolk base on the stove, chill it completely, then churn.
- Whisk the egg yolks and sugar together in a medium bowl until the mixture turns pale yellow and slightly thick, about 2 minutes.


- Heat the milk and espresso powder in a small saucepan over medium heat, stirring until the powder is fully dissolved. Heat until steaming — do not boil.

- Slowly pour the hot milk into the egg yolk mixture, whisking constantly. Add it in a thin stream — too fast and the eggs will scramble.

- Pour the mixture back into the saucepan and cook over low heat, stirring constantly with a wooden spoon or spatula, until it thickens enough to coat the back of a spoon and reaches 82°C (180°F). About 8–10 minutes.


- Strain through a fine mesh sieve into a clean bowl. Stir in the heavy cream, espresso shot (optional), vanilla, and salt.


- Cover with plastic wrap pressed directly onto the surface and refrigerate for at least 4 hours — overnight is better.


- Churn in your frozen KitchenAid bowl on speed 1 for 20–25 minutes, until thick and holding its shape. If using a compressor machine, churn from cold base for 20–30 minutes — no pre-freezing needed.


- Transfer to a freezer-safe container and freeze for at least 2 hours before serving.

Tips
The KitchenAid bowl needs at least 15 hours in the freezer before churning.
I leave mine in overnight every time — if the bowl isn’t frozen solid, the ice cream won’t set properly.
Don’t rush the custard on the stove.
Low heat and constant stirring is the only way to get a smooth base.
If you see any scrambled bits when you strain it, that’s fine — that’s what the sieve is for.

Instant espresso powder works better than brewed espresso.
Brewed espresso adds water to the base, which affects the final texture.
Powder gives you pure coffee flavor without changing the ratio of liquids.
The custard must be fully cold before churning — not room temperature, not slightly cool. Warm base going into the frozen bowl means the bowl warms up before the ice cream sets, and you end up with soft, icy results.
For a cleaner scoop, press parchment paper directly onto the surface before freezing. It prevents ice crystals from forming on top.

Serving Ideas
A scoop alongside a warm brownie works well here — the bitterness of the espresso cuts through the sweetness.
It also pairs with a shot of hot espresso poured directly over it (affogato-style), which is honestly one of the better ways to serve it.
A sprinkle of flaky sea salt on top is enough if you want to keep it simple.
For more frozen desserts, Vanilla Bean Ice Cream uses the same custard base with cocoa powder instead of espresso.
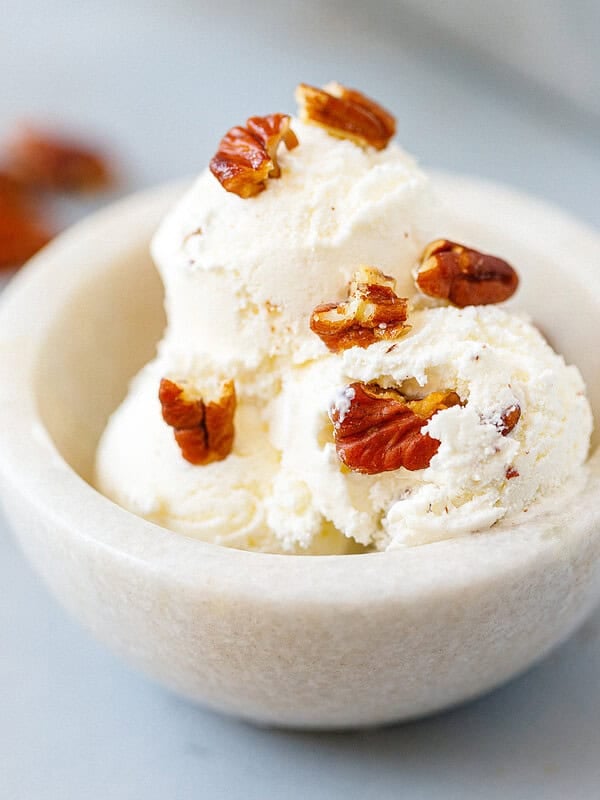
I also have another favorite homemade frozen treat and it is this Butter Pecan Ice Cream, made in my Cuisinart machine.
FAQ
How long does coffee ice cream take to churn in a KitchenAid?
About 20–25 minutes on speed 1 with a fully frozen bowl.
I check mine at 20 minutes — it should look thick and hold its shape when you stop the machine.
If it still looks loose, give it another 5 minutes.
Why did my ice cream turn out icy instead of creamy?
The most likely reason is that the custard base wasn’t cold enough before churning, or the KitchenAid bowl wasn’t frozen solid.
I made this mistake once when I only chilled the base for 2 hours — the texture was noticeably icier.
Now I always chill overnight and make sure the bowl has been in the freezer at least 15 hours.
Can I use brewed espresso instead of espresso powder?
You can, but it changes the texture.
Brewed espresso adds liquid to the base, which makes the final ice cream slightly icier.
If you use it, replace 2–3 tablespoons of the milk with cooled brewed espresso rather than adding it on top of the full recipe.
Powder is easier and gives a more consistent result.

Is this coffee ice cream low carb?
Not as written — but easy to adapt.
Replace the sugar with allulose at the same ratio. Allulose behaves like sugar in a frozen dessert: it churns well, scoops cleanly, and doesn’t crystallize the way erythritol does.
The rest of the recipe stays the same.

Homemade Coffee Ice Cream
Ingredients
- 2 cups heavy cream
- 1 cup whole milk
- 4 egg yolks
- ¾ cup sugar, or allulose for low-carb
- 2-3 tbsp instant espresso powder
- 1 shot of espresso, optional, if using it, use 2 tbsp instant espresso
- 1 tsp vanilla extract
- Pinch of salt
Video
Instructions
- Whisk egg yolks and sugar until pale and thick.
- Heat milk and espresso powder until steaming. Slowly pour into yolk mixture, whisking constantly.
- Return to saucepan, cook on low stirring until mixture coats a spoon (82°C/180°F).
- Strain into a bowl. Stir in cream, vanilla, and salt. Add espresso shot, if you've decided to use it.
- Chill completely, minimum 4 hours or overnight.
- Churn in frozen KitchenAid bowl on speed 1 for 20–25 minutes, or in a compressor machine for 20–30 minutes.
- Freeze 2+ hours until firm.
Notes
- KitchenAid bowl needs 15+ hours in the freezer before use
- Substitute allulose 1:1 for sugar for a low-carb version
- Keeps in the freezer up to 2 weeks
Nutrition
Nutrition information is automatically calculated, so should only be used as an approximation.