This post may contain affiliate links. Please read our disclosure policy.
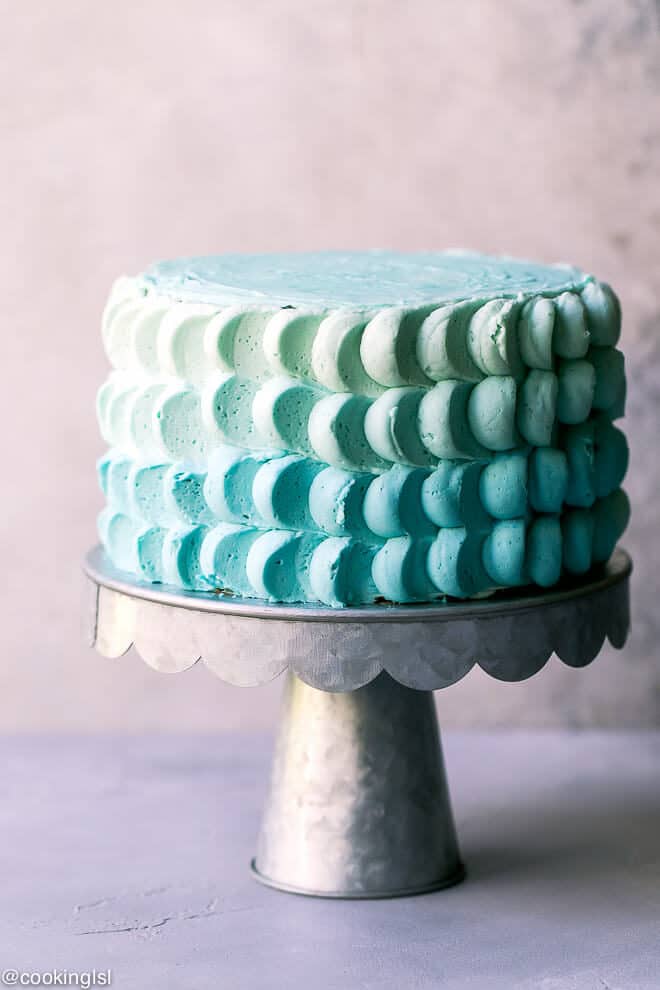
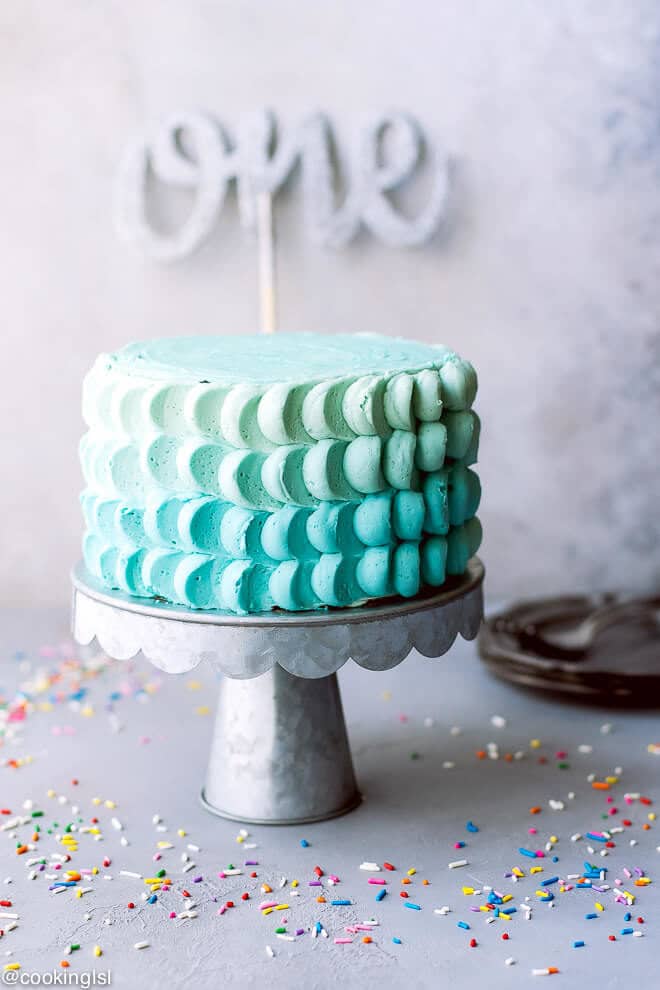
Smash Cake Recipe Idea Baby Boy’s First Birthday – three layers of homemade funfetti cake, filled with blue buttercream. Covered in buttercream and decorated with ombre buttercream petals. Very simple, impressive, easy to make and delicious. Great for a birthday cake or smash cake.
Hey guys! I’m very excited to share with you today the smash cake recipe that I used for my son’s first birthday, for his smash cake pictures to be specific.
Of course I made the cake. I was the one who took the photos, too. We had another photographer take some more pictures on his birthday, but I did the smash cake photoshoot a week earlier.
My baby is 1 year old already.
This last year has gone by so fast! I can’t believe it (I know I sound cheesy)! The birthday party wasn’t huge, but he had a lot of fun.
While doing some research, I decided that this buttercream petal technique was cool. It is not too difficult to make (for someone like me who isn’t too good with buttercream cake decorating) and was perfect for ombre cake.
Of course a lot of people make rosette cakes and they are perfect for smashing, too! But they are girly to me.
I’m talking about the buttercream petal technique, where you make dots of icing on a cake and then smear them with a spatula, to make “petal like” effect.
It is easy! I made 4 layers of petals. Three layers could have been even better, but my cake was tall.
You need to try to be a little precise, to all smeared dots on all layers are aligned one under another.
I colored the buttercream in three different shades of blue, to achieve the ombre look. If you’d like to skip this extra step, it is totally fine. This cake will look great, if the buttercream is the same color all over.
I just thought it will look nicer on the photos, if it was ombre.
I’ve made a cake like that before, for a different event and I used Swiss Meringue Buttercream back then.
Swiss meringue buttercream is my favorite. It tastes delicious (and I’ve said many times, I’m not a huge fan of buttercream), sets firm and it is easy to fork with.
The problem is, that I wasn’t sure if this was the perfect frosting for a baby – it contains a lot of egg whites and I had not introduced them to my son at the time of the photoshoot.
He just had some egg whites this week and seems to be doing ok.
Also a firm buttercream will be more difficult to smash and play with (for a baby).
That’s why I just made a plain, all butter, American buttercream frosting. It worked great.
Cream cheese frosting is another frosting option, that will work well for this Smash Cake Recipe Idea.
For the cake, I used a simple recipe, that I’ve been using for cupcakes. I just had to change it a bit.
I used melted butter, instead of oil and the cake became a little more dense, than most of my cakes, but this is how I wanted it. The recipe is super easy to make and perfect for celebration.
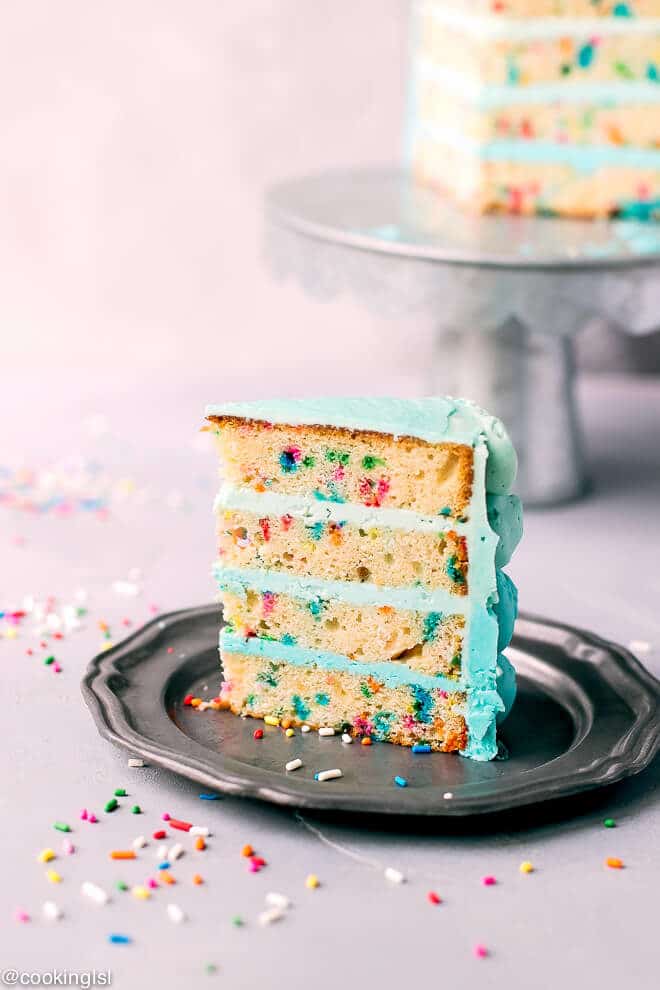
So he smashed more than half of it, but one side of the cake looked good, so I decided to take a slice and take a picture of it, for you to take a look on the inside. It was delicious!
I know that some of you may not be interested in cake baking, decorating and smash cakes.
I decided to share my creation to inspire you and show you how you can make a beautiful cake for your child at home. It is easy and inexpensive. Planning a birthday party is fun, but is could get costly.
This Smash Cake Recipe Idea is perfect for baby boy’s first birthday. Use pink to make it for a baby girl.
Smash cakes are cakes are small cakes, made for and given to the birthday guest of honor. They smash them and make a mess, but the whole experience and pictures are priceless!
Smash Cake Recipe Idea Baby Boy's First Birthday
Ingredients
For the funfetti cake:
- 1 2/3 cups all-purpose flour
- 1/2 tsp salt
- 1/2 tsp baking powder
- 1/2 tsp baking soda
- 1/2 cup unsalted butter, melted and cooled
- 2 egg yolks, or 1 egg
- 3/4 cup sugar
- 2 tbsp brown sugar
- 1 tsp vanilla extract
- 1/4 cup sour cream, or greek yogurt
- 3/4 cup milk
- 1/2 cup rainbow sprinkles
For the buttercream:
- 1 cup butter, softened
- 1 lb powdered sugar, sifted
- 1 tsp vanilla extract
- 4 tbsp milk, or more
- blue food coloring
Instructions
For the funfetti cake:
- Preheat oven to 350 F. Line 2 6-inch round cake pans with parchment paper. Spray the sides and the bottom with cooking spray. Add bake even strips to the pans. Set aside.
- In a bowl combine sifted flour, salt, baking soda and baking powder. Set aside.
- In a separate bowl, beat together sugars and melted butter for 2 minutes, until sugars have dissolved. Add vanilla, egg yolks, sour cream and milk. Beat to combine.
- Add dry ingredients and slowly mix them, until incorporated. Do not over mix.Add sprinkles and stir with a spatula to combine.
- Divide mixture between both pans. Bake for 35-50 minutes, until toothpick inserted comes out clean. You can cover with aluminum foil loosely at the 30 minute mark, to prevent the top from burning.
- Remove from the oven, let the cakes cool for 10 minutes in the pans and transfer to a cooling rack. Cool completely.
- When ready to assemble, cut off the domes (if any) and using a serrated knife cut the cake layers in half, through the middle.
For the buttercream:
- Beat butter on medium-high for 1 minute. Slowly add sifter powdered sugar. Beat on medium-high for 2 minutes. Scrape down the sides and bottom of the bowl. Add vanilla. Beat for 2 more minutes.Add milk to and beat to combine. If the frosting is too stiff, add more milk to reach the desired consistency.
To assemble:
- Spread about 1/3 cup of buttercream between each layer. Since I have 4 layers, I used the darkest buttercream between layers 1 and 2, then the medium shade between 2 and 3 and the lightest between 3 and 4. I used the lightest shade of buttercream to crumb coat the cake and then used some more on top of it. Refrigerate for 15 minutes.
- To create the buttercream petals, you need to fill 3 piping bags fitted with Wilton 1 A tips, with all 3 shades of buttercream.
- Pipe 2 large dots of icing one over another, using the darkest shade of buttercream. Then pipe one from the medium shade on top and another one from the lightest shade over it, make sure the tots are covering the side of the cake completely. Using an offset spatula, smear the dots to flatten half of them, making them look like petals. Repeat all over the cake. Refrigerate for at least 30 minutes.
Nutrition
Nutrition information is automatically calculated, so should only be used as an approximation.
You May Also Like:
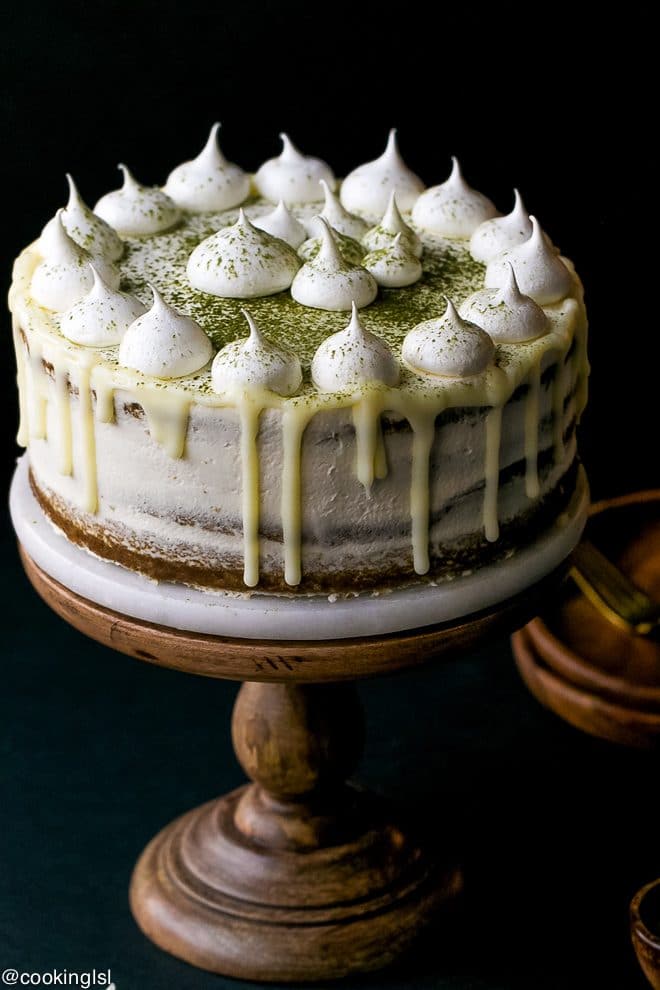
Matcha Layer Cake With White Chocolate Ganache Drip
Vanilla Bean Cheesecake With Biscoff Cookie Crust


Would like to make this a three layer cake with 6 inch layers. Do you happen to know the amounts for the ingredients in just one layer?
No, but since this one makes 3 layers, just divide by 3 to find out the ingredients for 1 layer.
Hi! How do you get the desired colors from one food coloring? Would you just use less? Sorry I’m new at this! Lol
Hi Kaitlyn,
Yes, for example use 5-6 drops of food coloring for dark color, 3-4 of the same coloring for the middle shade and 1-2 for the lighter color.