This post may contain affiliate links. Please read our disclosure policy.
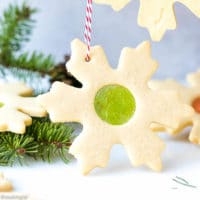
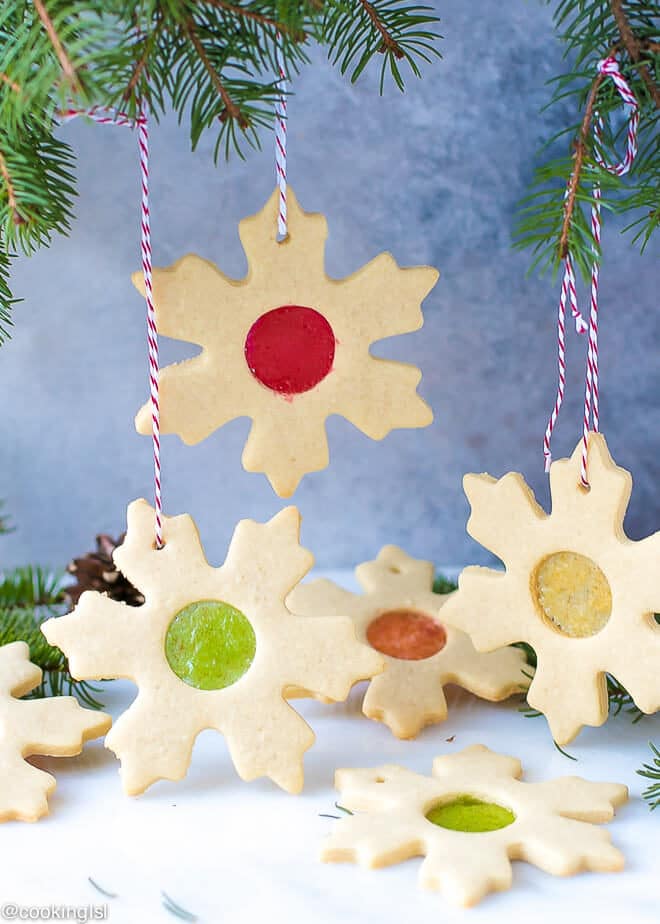
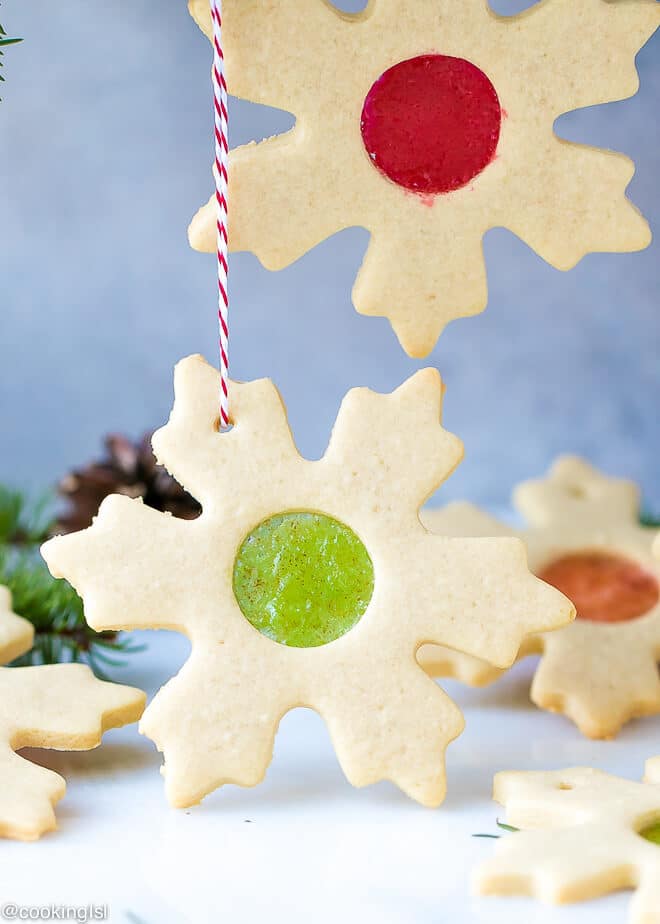
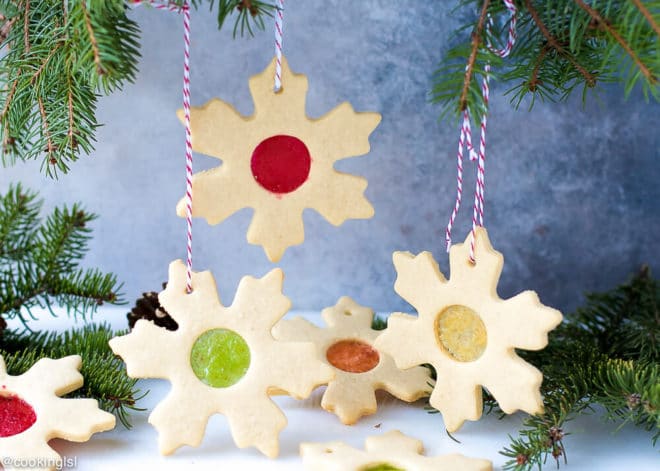
Easy Stained Glass Cookies Recipe – buttery sugar cookies, cut out and baked with crushed candy in the center, to achieve “stained glass window effect”. Beautiful, festive, perfect for Christmas. Simple and fun to make.
How to make sugar cut out stained glass cookies?
The idea is simple.
- Use your favorite no spread sugar cookie recipe, crush some candy (like Jolly Ranchers or Lifesavers).
- Cut out the cookies.
- Cut out a smaller shape inside each cookie.
- Fill the gap with crushed candy.
- Bake until golden.
- Let the cookies cool.
- Devour or use as decoration, if you could!
These Stained Glass Cookies are always gone in no time when I make them.
What cookie cutters to use for stained glass cookies?
You can use cookie cutters of your choice.
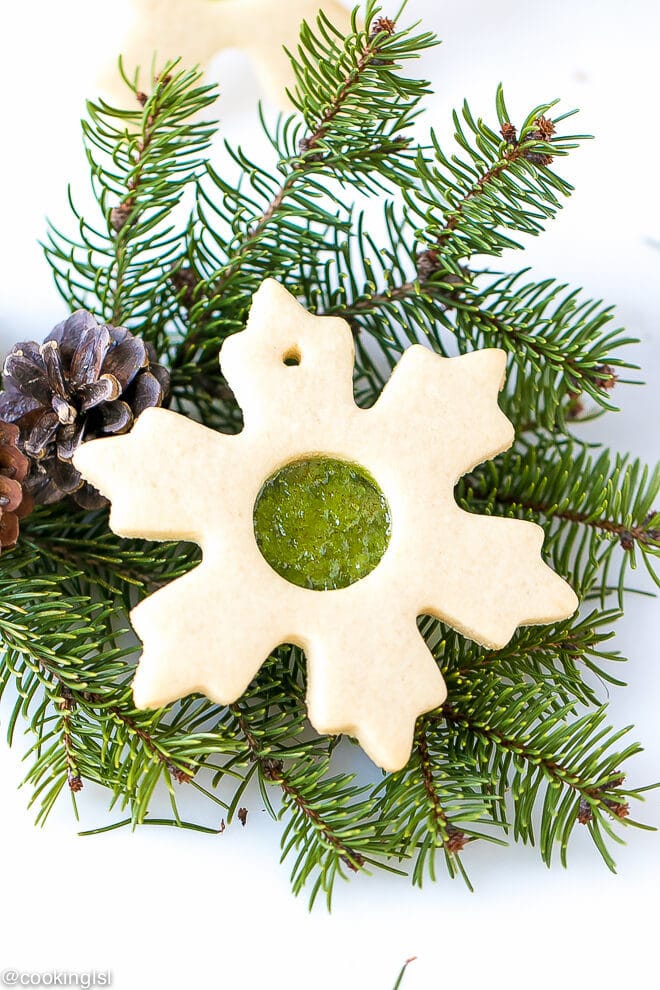
I used a snowflake cookie cutter and then cut out a circle in the middle.
A smaller snowflake or star cookie cutter could be used, too.
Whatever shapes you choose for your cookies, make sure you have a corresponding cookie cutter to cut out the shape on the inside.
Why are these Stained Glass Cookies Perfect for a Christmas Edible Gift?
This Easy Stained Glass Cookies Recipe is perfect for a homemade edible gift.
Wrap these individually and give them to kids and adults this holiday season. Or you can even hang them on the Christmas tree.
They are so pretty!
I’ve wanted to share this Easy Stained Glass Cookies Recipe for a long time.
Helpful tips to make these Easy Stained Glass Cookies:
- The first time I made these, I used a different sugar cookie recipe, a lot softer and prone to spreading – I was not impressed.
- Then I decided to use my foolproof no spread cut out cookie recipe.
- The cookies a slightly harder than regular sugar cookies, because the amount of flour used is more than typical recipes, but it works fine (unless you definitely wand super soft buttery cookies, then these might not be the cookies for you).
- I used lifesavers candy in this Easy Stained Glass Cookies Recipe, but the previous time I tried them I used Jolly Ranchers and they melted a lot better and produced a glossier stained glass effect.
- I prefer baking the cookies on a cookie sheet lined with Silpat, so they don’t stick. Even parchment paper will work, but I don’t recommend lining the baking sheet with foil. The candy will stick.
Hope you get to try these!
Similar Holiday Cookie Recipes:
Easy Stained Glass Cookies Recipe
Ingredients
- 40 Life Savers Candies, different colors, sorted out by color and crushed
For the cookies:
- 1 cup butter unsalted, cold, cut into pieces
- 1 cup sugar
- 2 eggs, room temperature
- 3 1/2 cups flour
- 2 tsp vanilla extract
- 1 tsp cornstarch
- 1/4 tsp salt
Instructions
- Preheat oven to 350F.
- In the bowl of a stand mixer, fitted with the paddle attachment cream together butter and sugar. Scrape the sides and bottom of the bowl and add eggs and vanilla. Beat to combine.
- Add flour, cornstarch and salt. Beat until incorporated, for 3-4 minutes. Shape into a ball.
- Roll out the dough between 2 pieces of parchment or wax paper, it needs to be around 1/4 -inch thick.
- Cut out cookies, I used a snowflake cutter by Wilton. Cut out a smaller star, snowflake or a circle in the inside and remove the inside dough.
- At this point you can chill the cookies for 20-30 minutes.
- Using a small spoon, fill the inside of the cookies. Do not overfill, but fill almost to the top edge. You can make a hole on the top of each cookie with a skewer, if you are planning to hang them.
- Bake for 12 minutes, until the crushed candy is melted and the cookies are golden.
- Let the cookies cool on the baking sheet, then carefully remove and place on a platter.
Nutrition
Nutrition information is automatically calculated, so should only be used as an approximation.
More Christmas Cookies You May Like:
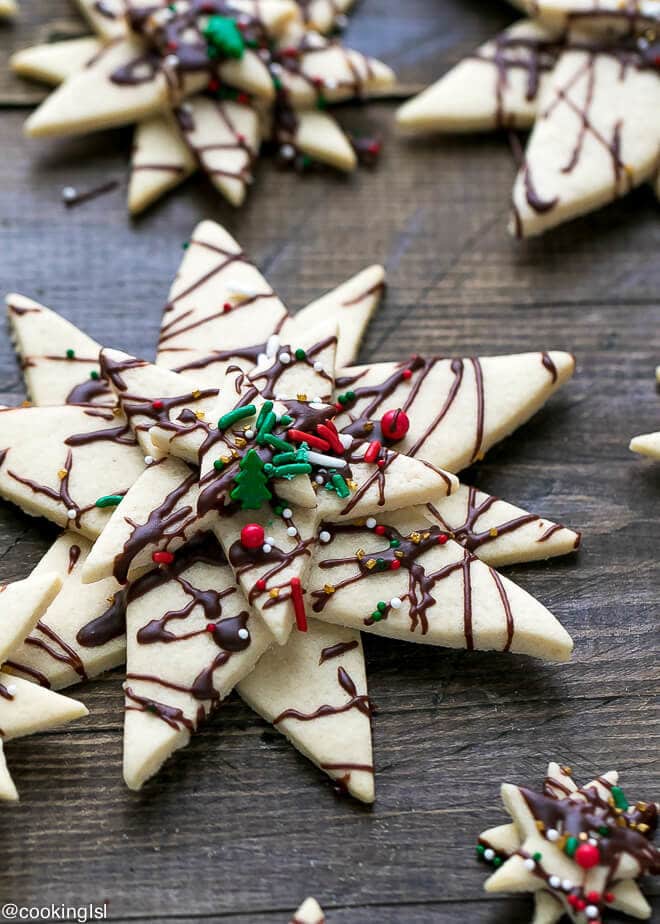
Stacked Star Christmas Tree Sugar Cookies
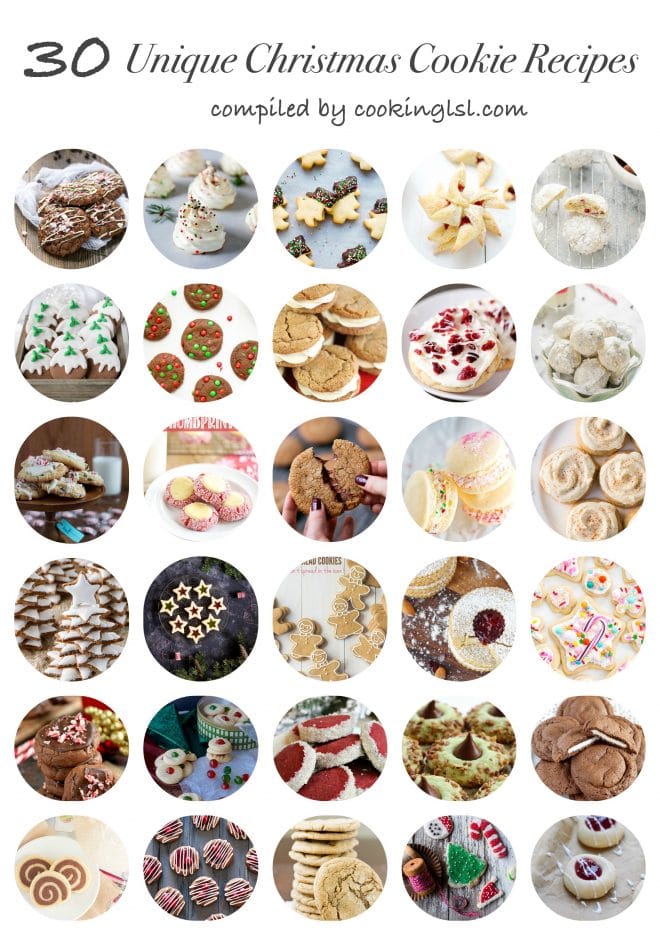
30-Unique Christmas Cookie Recipes
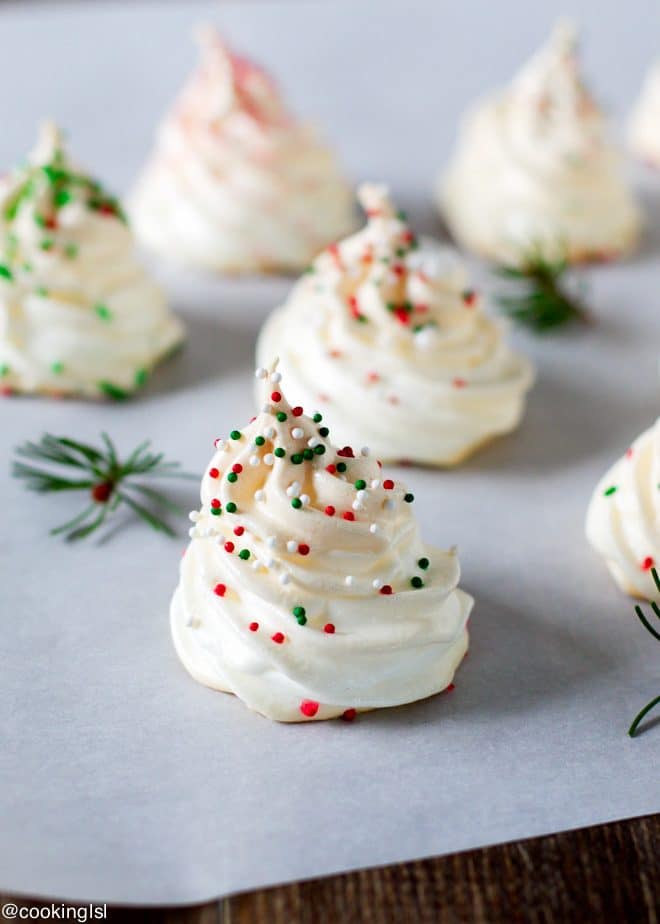
Christmas Tree Meringue Cookies


These are so GORGEOUS Mira! These would be such lovely gifts!! I cannot wait to try this!
I can’t wait to make these and pass out to my neighbors! These are so adorable!
Thanks for the tips! These turned out amazing!